PCB Etching
While I learned to design and solder PCBs much earlier, until this year I never tried to make my own.
There are many ways to do it, for example:
- dry method with a CNC milling machine - if you have the machine, this would be a very appealing method. No chemicals, relatively quick and well reproducible.
- etching with etching salts - probably the cleanest chemical method, but you have to buy the salts
- etching with ferric chloride - the classic, this is a messy method and makes brown stains
- etching with cupric chloride - similar to ferric chloride, this solution is self-regenerating and can last basically forever, plus it doesn’t stain
Electrolysis experiment
First, I tried to use good old electrolysis just to see if it could work. It does, kinda. The problem is that electrolysis is never perfectly uniform and tends to create islands of unetched copper, which then can’t be etched further because of the broken connection. This clearly doesn’t work for large uncovered areas. I believe you could design your boards specifically for electrolysis, with minimal exposed areas, and when done, fix it up with a Dremel or a cutting knife. This might be worth exploring if you can’t get the chemicals needed for other etching methods.

Etching a test board
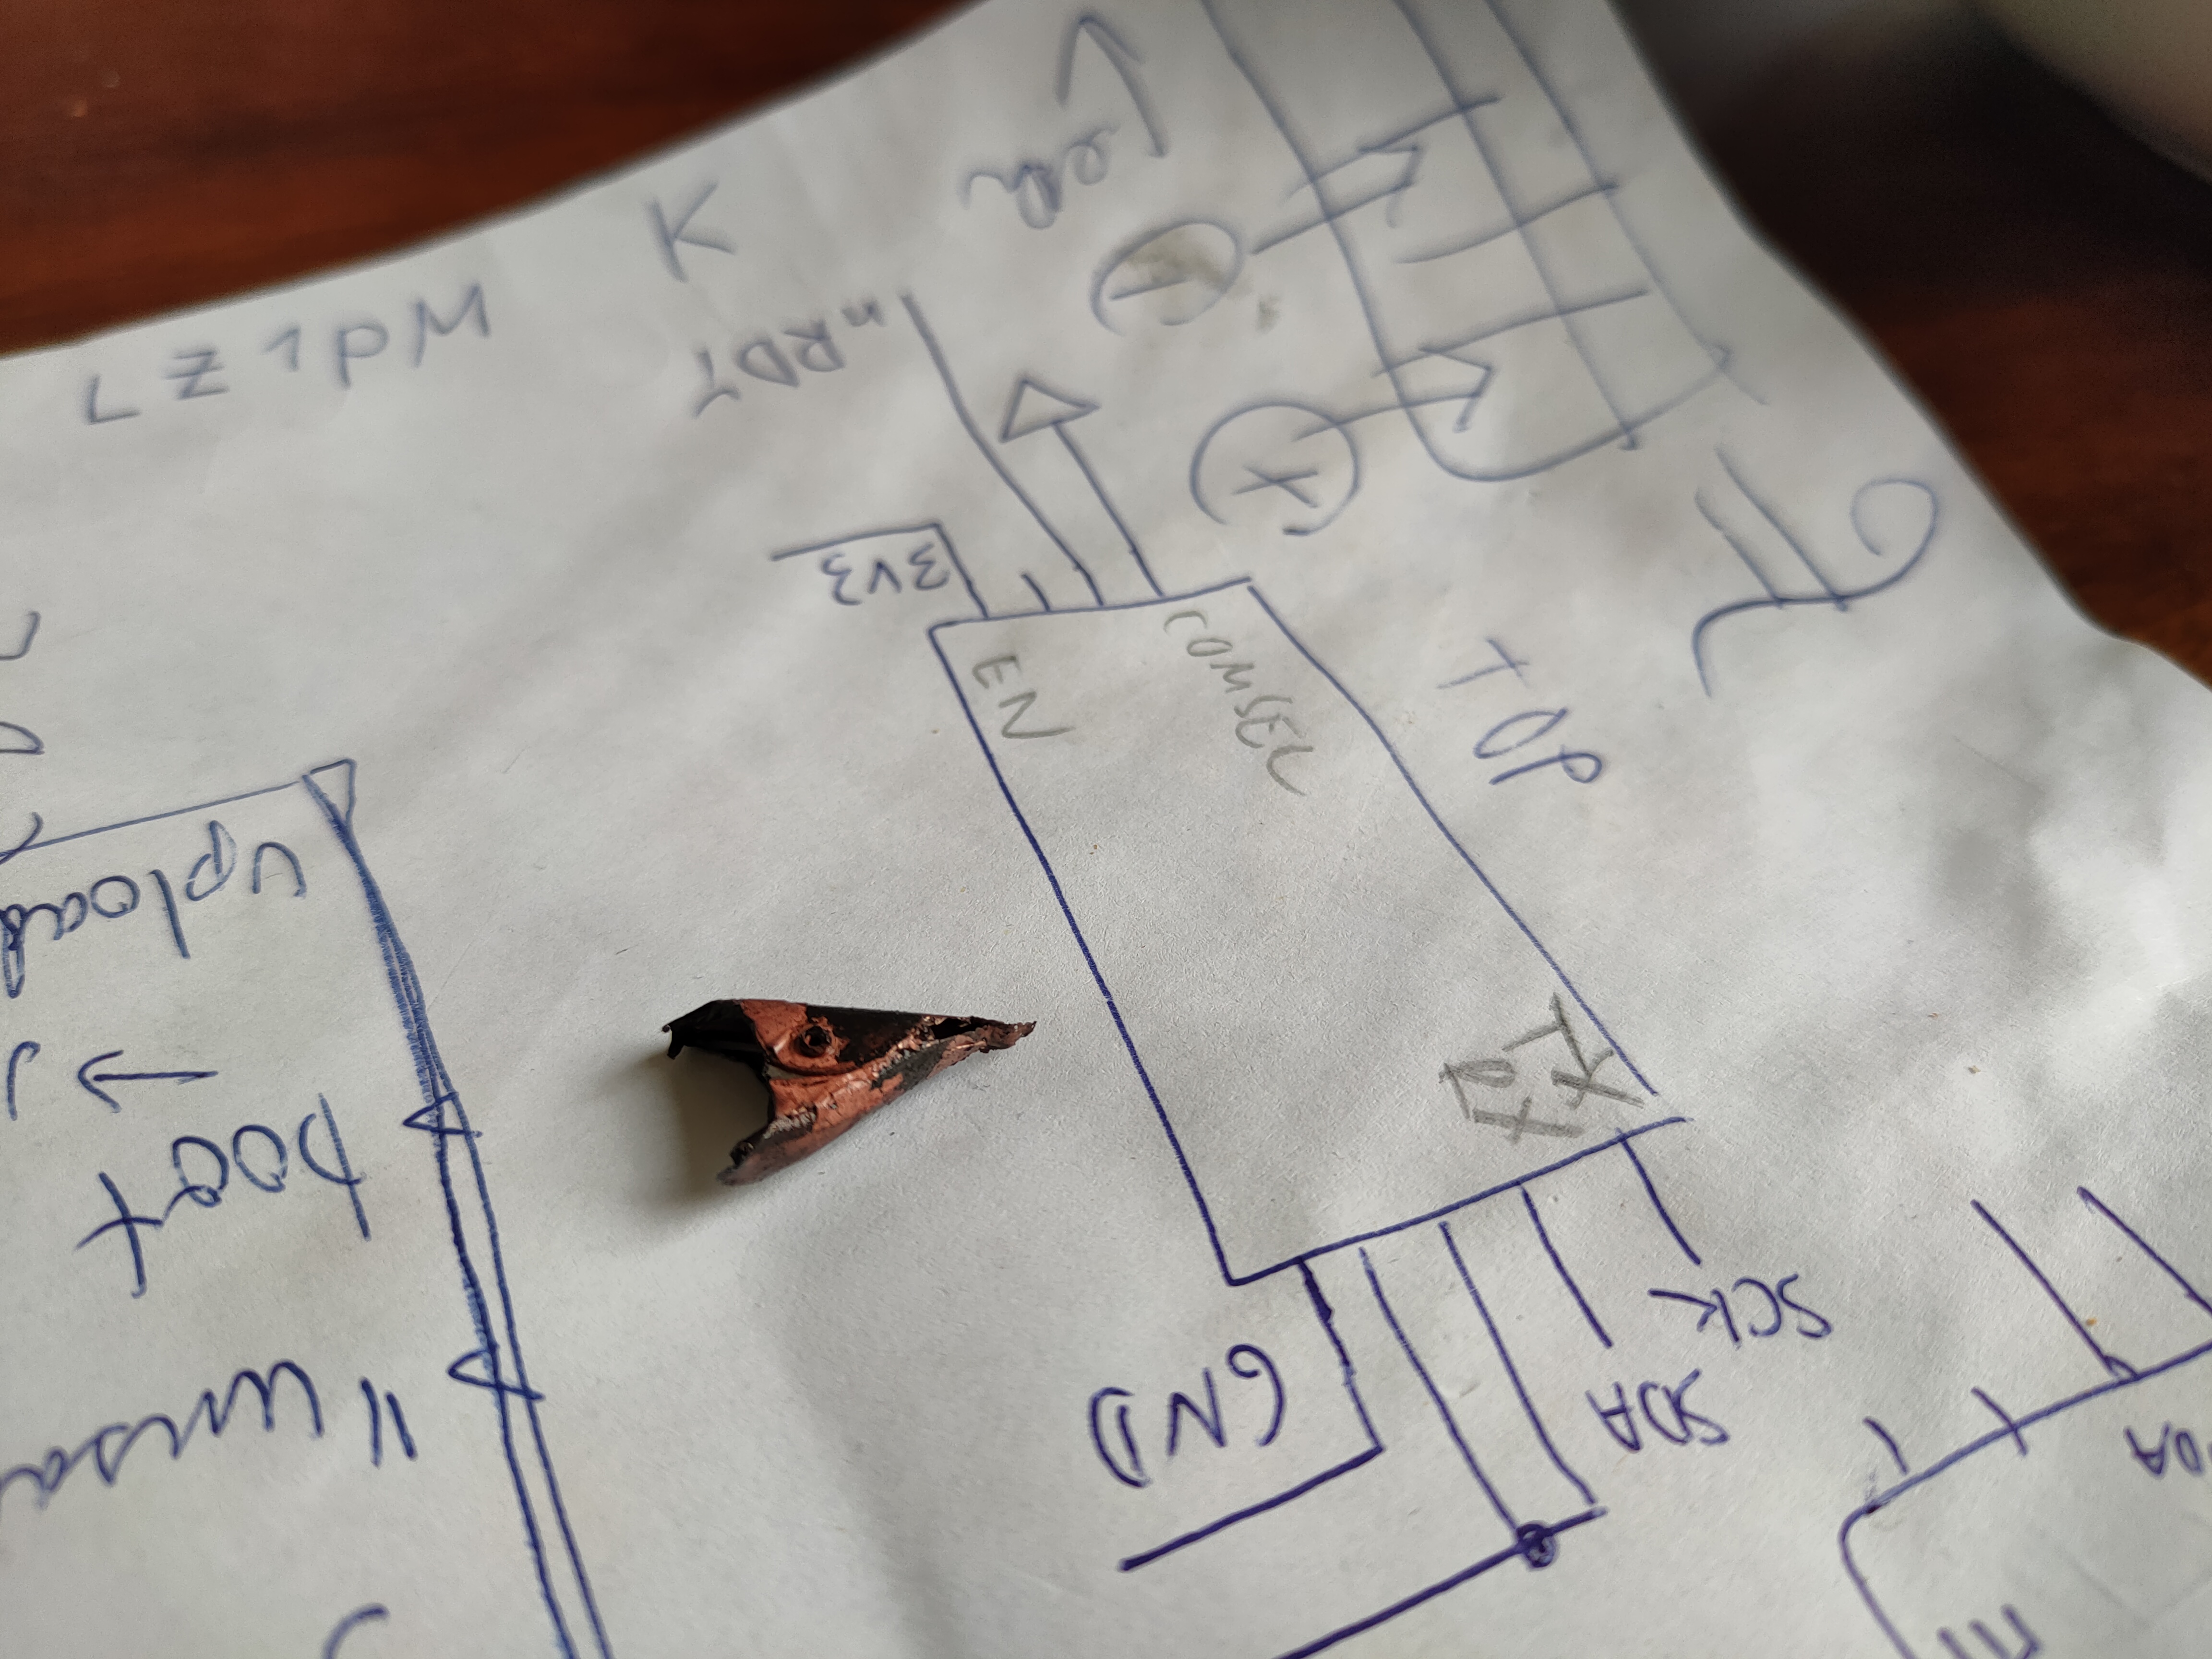
The aftermath: one of several destroyed alligator clips
Board etched using electrolysis, note the unetched islands
Cupric chloride
After the electrolysis fiasco I chose to go with cupric chloride. The self-regenerating property appeals to me, first because of cost saving, and then, there is no chemical waste to dispose of. You could say it’s a green method - and the chemical is beautiful emerald green as if to prove the point. For real, a cupric chloride solution looks fantastic.
I’m writing this post couple months after the experiments, so don’t take this for a step-by-step guide. There are many more detailed guides online if you want to try it yourself.
The chemical formulas of this process can be found e.g. in this chemical bulletin (source) or this scientific paper (source).
You can just go and buy cupric chloride, but it can be made from scratch, all you need is some copper, hydrochloric acid and hydrogen peroxide. Peroxide is hard to get in higher concentrations as it’s a precursor for the TATP explosive. Low 3% concentration hydrogen peroxide can be bought in pharmacies. Hydrochloric acid in a suitable concentration was surprisingly easy to buy in a hobby store.
Before doing any of the following, I recommend you get rubber gloves and a large plastic container to do that in, as at some steps there will be hydrochloric acid splashing around. You read that right.
The steps are as follows. I’m not a chemist, so I didn’t measure anything and just hoped for the best.
- Put copper wire cuttings into an etch-proof container (plastic or glass will work, I recommend glass; IKEA sells nice glass bowls for this) and add hydrochloric acid to cover the copper.
- Add hydrogen peroxide. The reaction that follows is slightly exothermic even at 3% concentrations of peroxide. This means your container will get hot.
- The mixture will quickly turn black. Leave the reaction going as long as you want, add more peroxide to boost the process. The dark colour is copper dissolved in the acid. You want to get the solution as dark as possible, as this copper will turn into cupric chloride later. I used way too much copper wire here, so some was left intact.
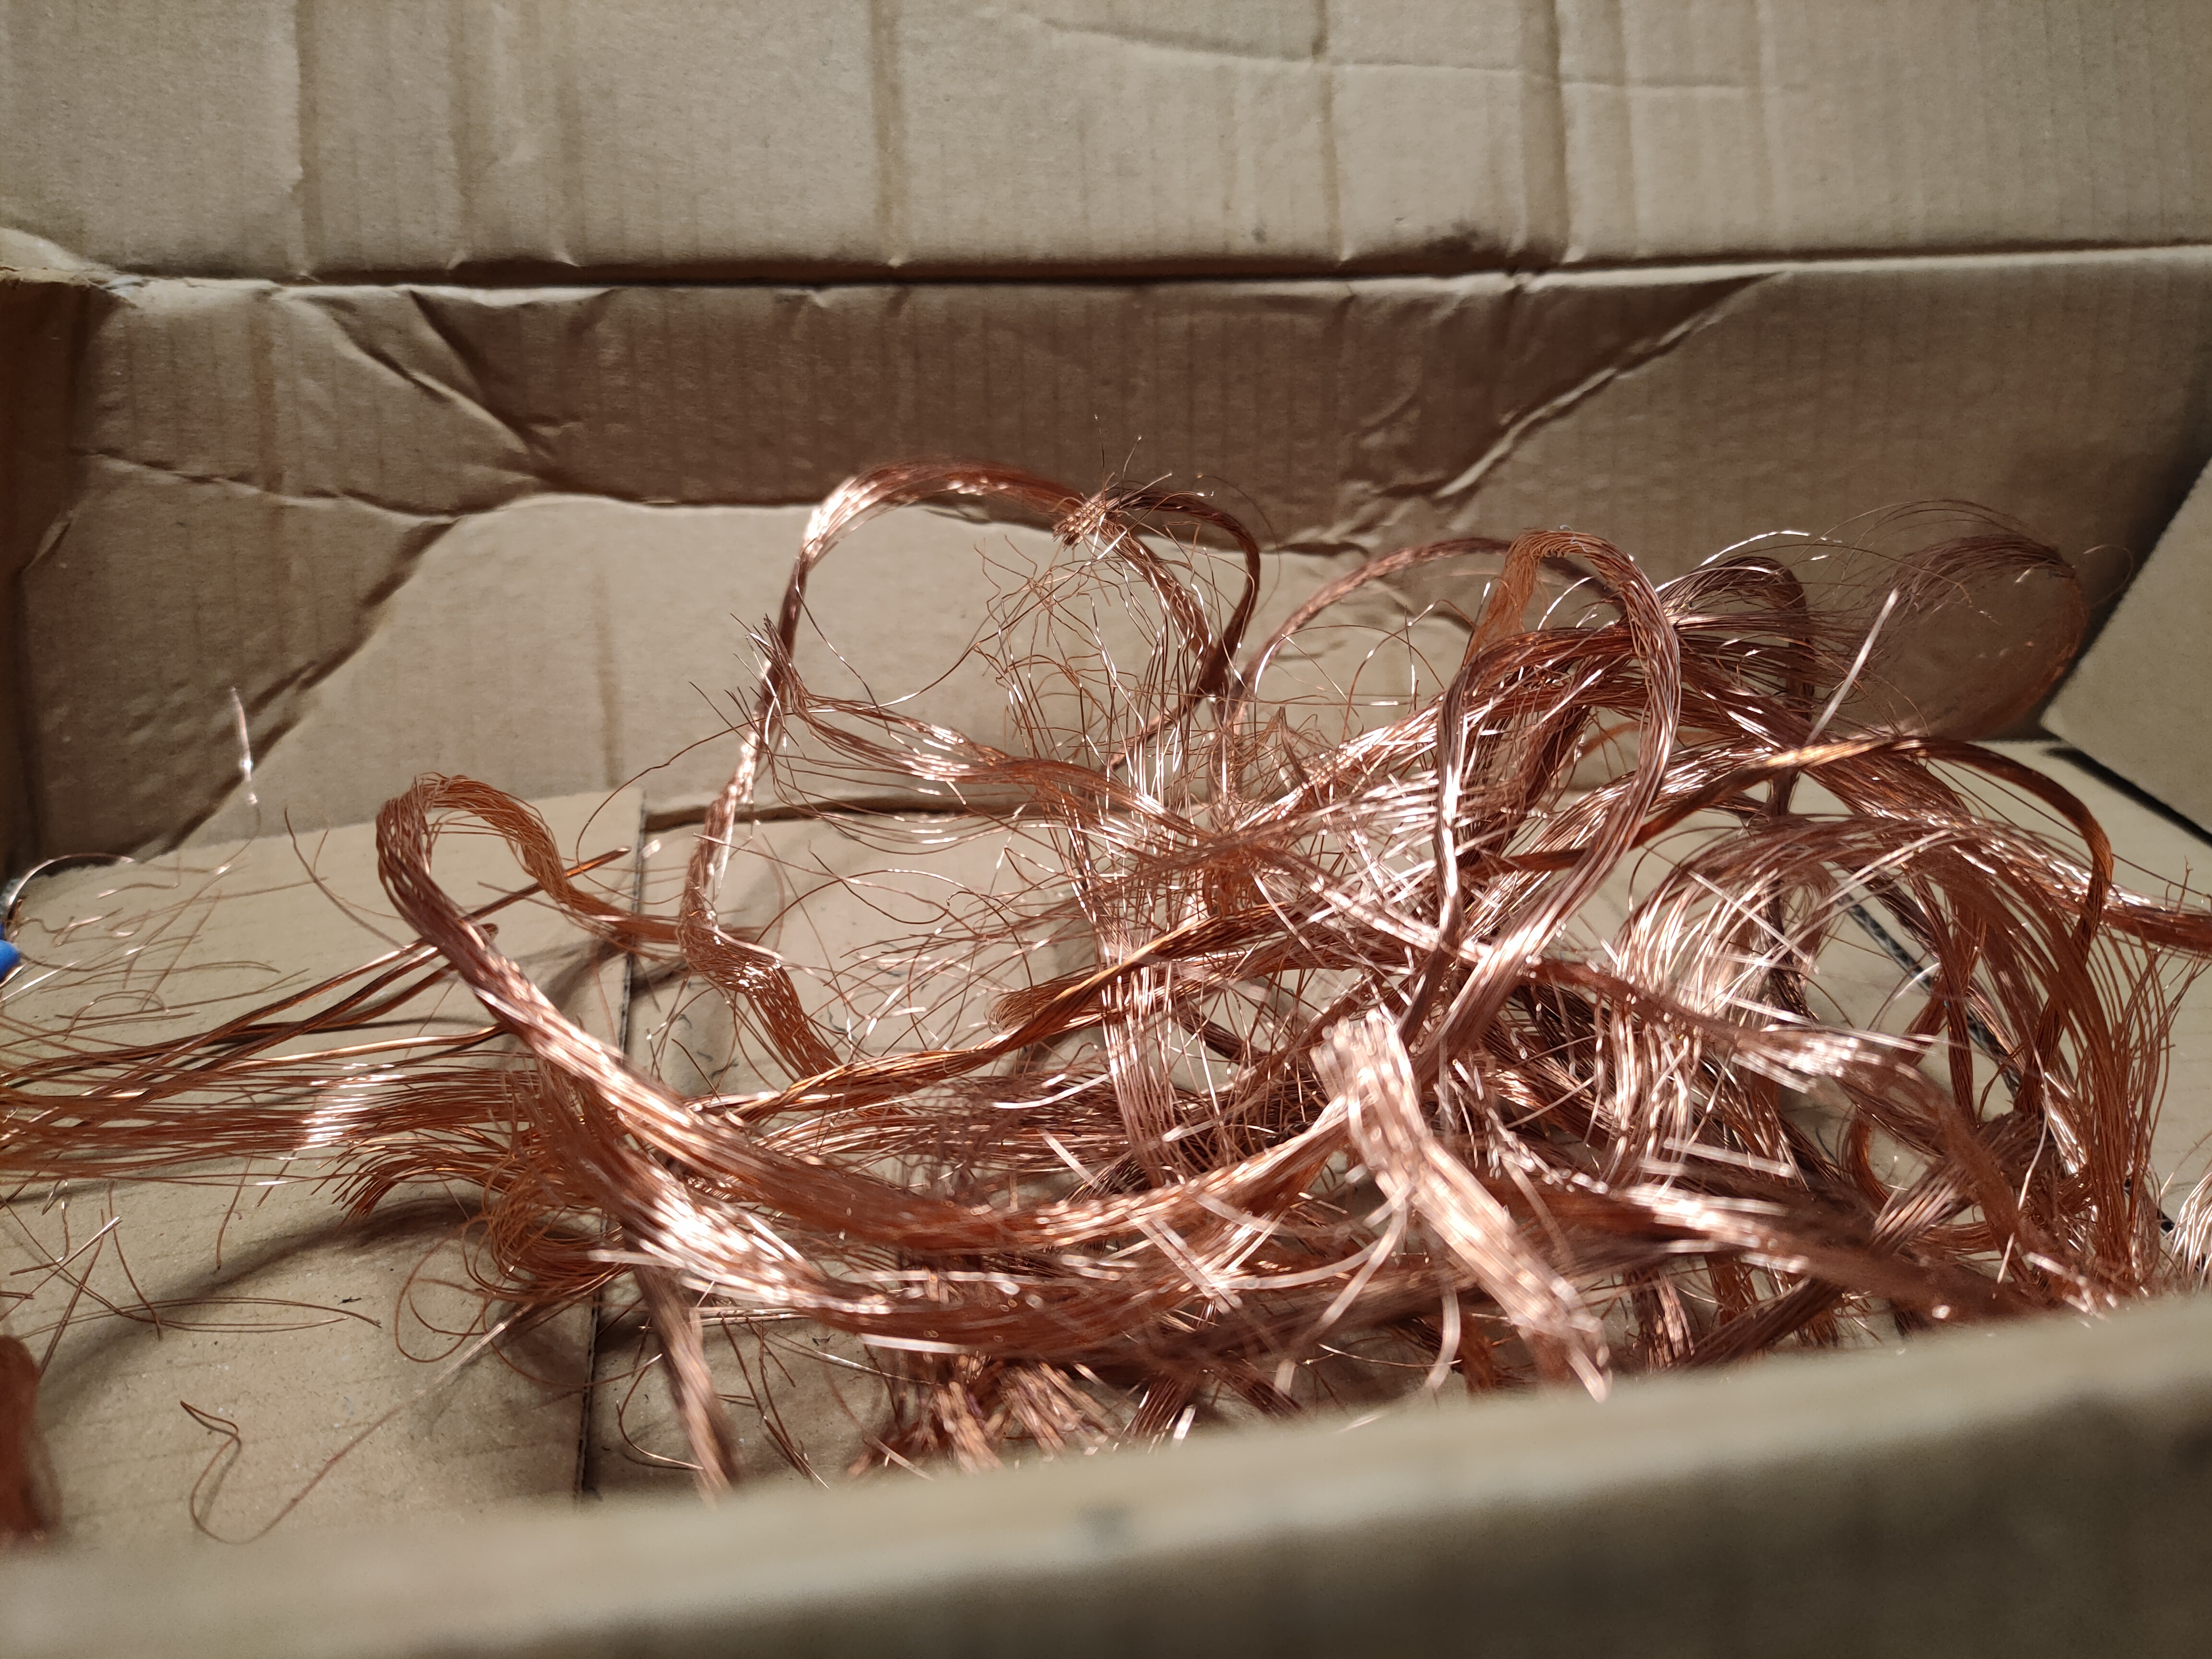
Raw copper from some stripped cables
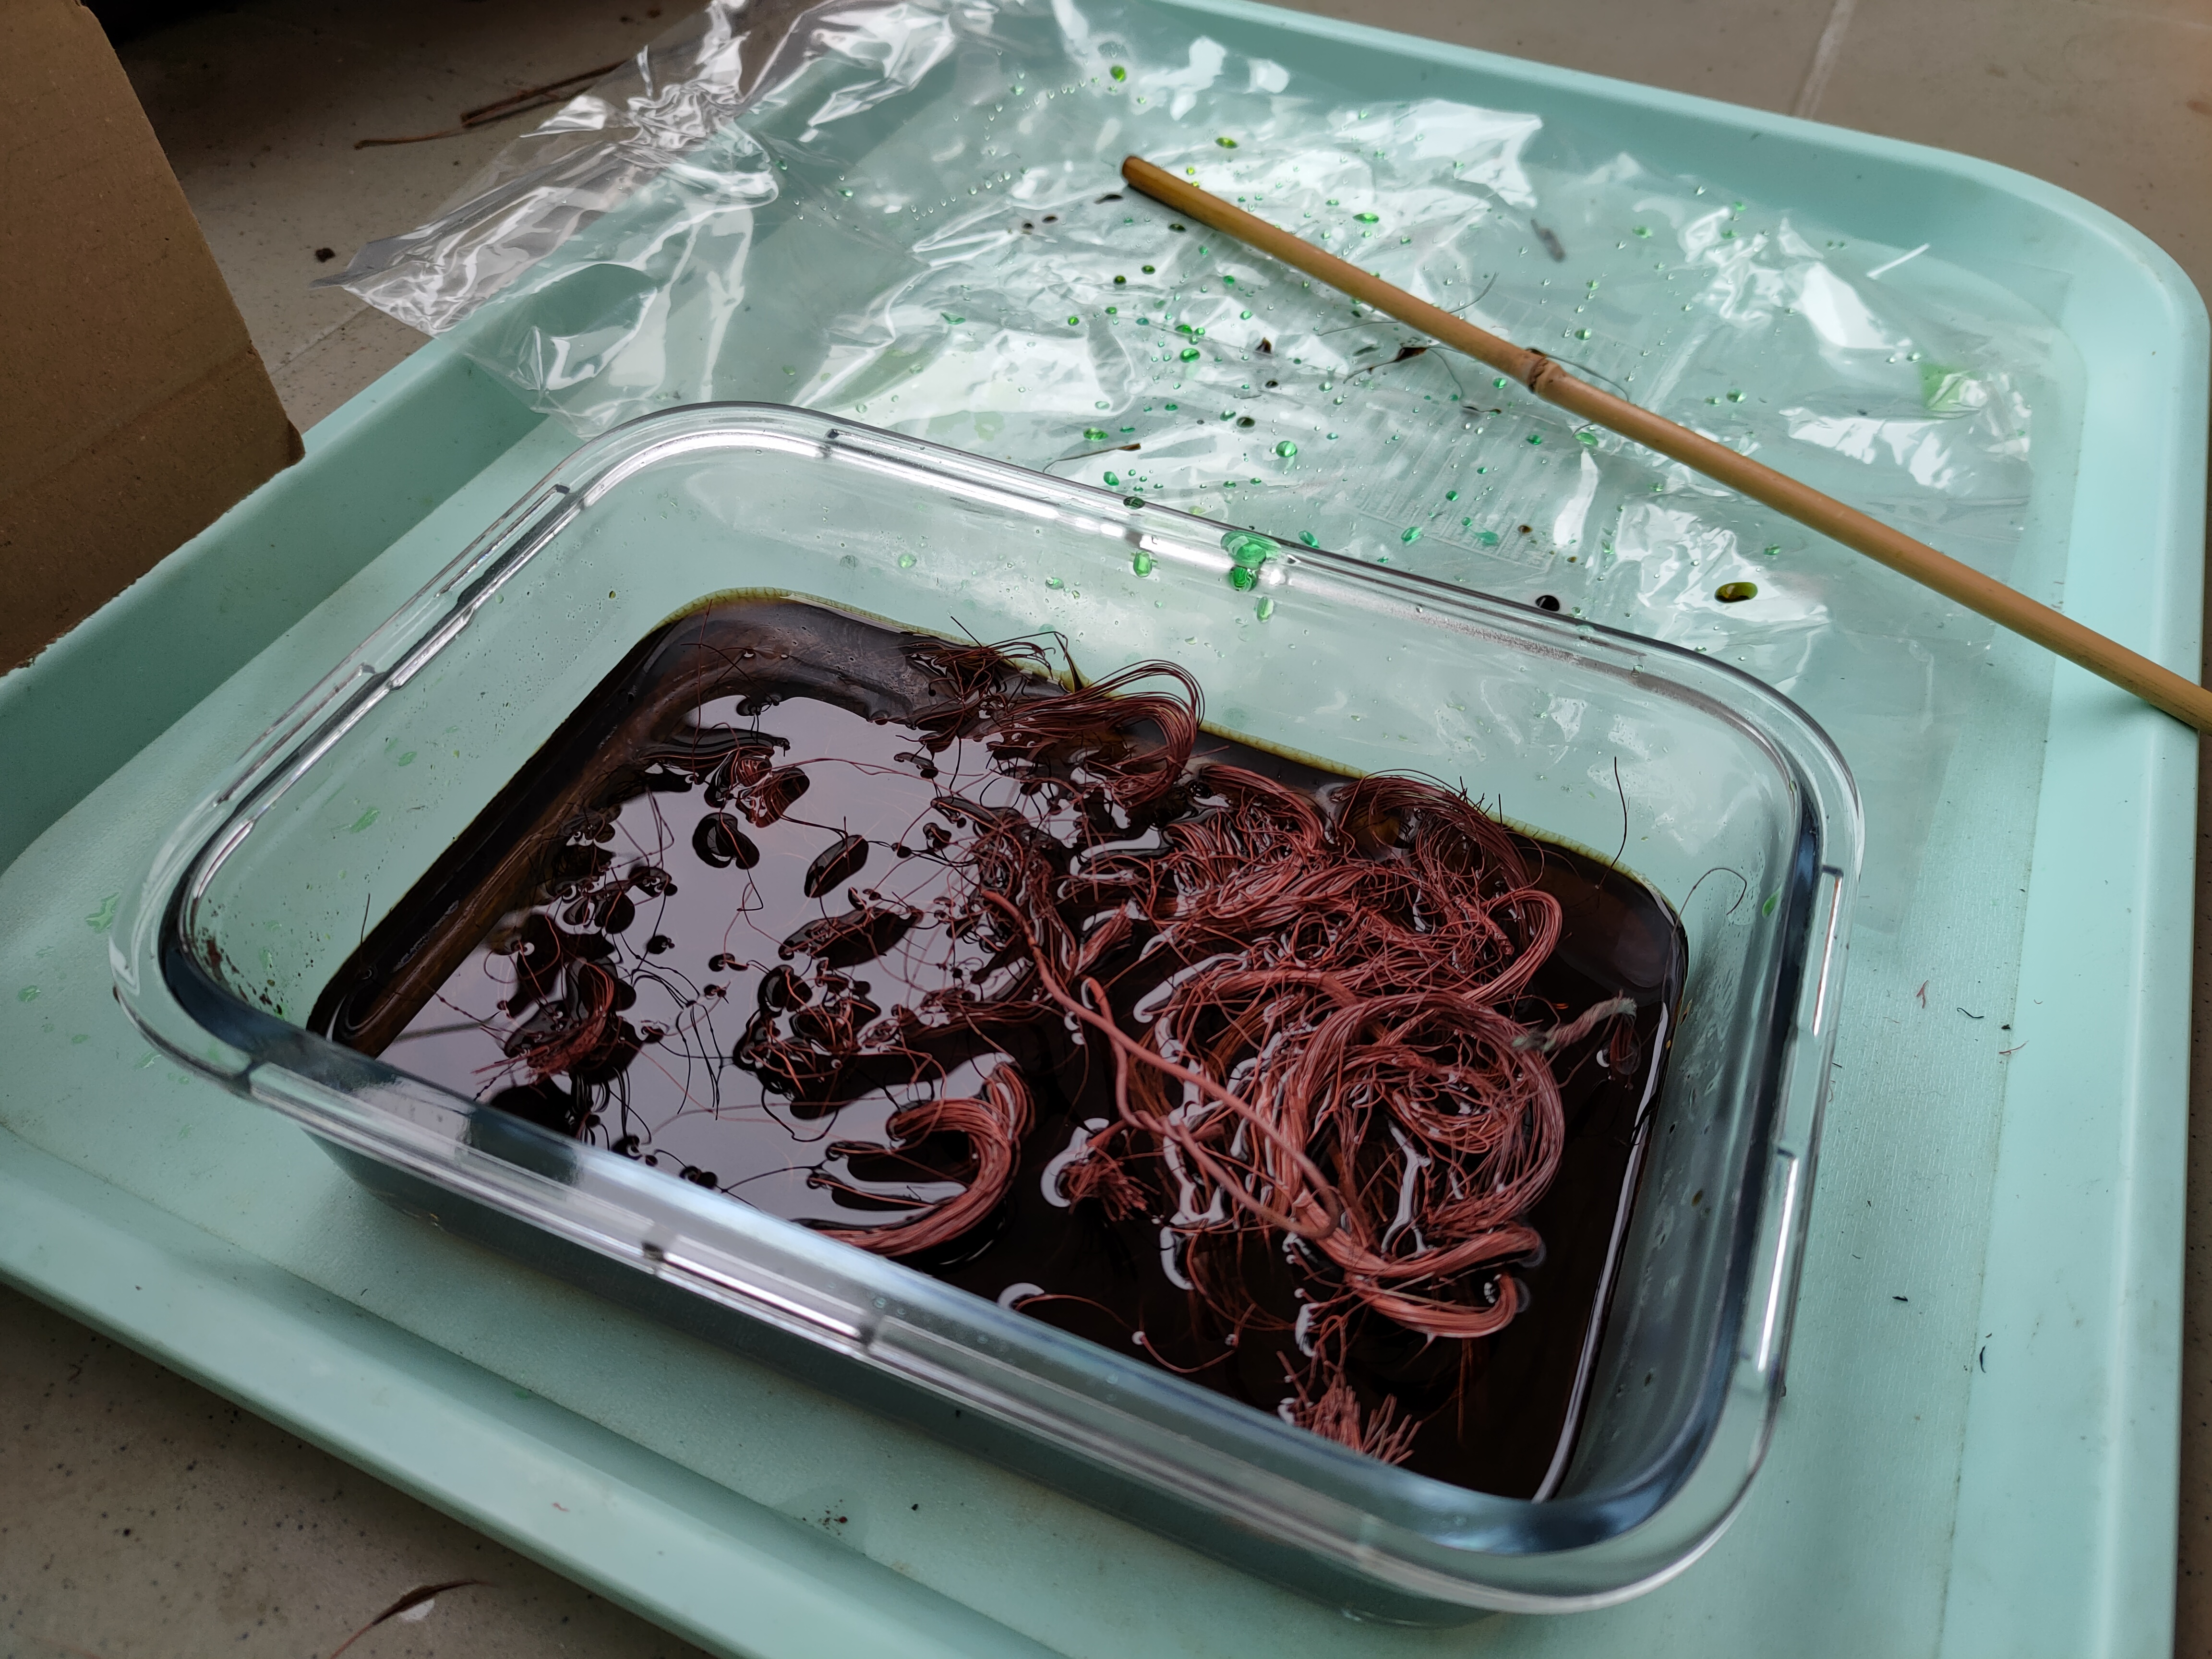
Copper in a bath of hydrochloric acid and peroxide
The next step will need an aquarium air pump or other way to bubble air through the liquid.
There’s no special steps here, just let air bubble through the black liquid until it becomes green. The time needed will vary with ambient temperature and the concentrations in your solution. In my case, this took approximately two days. Stop the process when the liquid is nice emerald green. You will notice that drops of the liquid that collect around the container turn green long before the process is done, they oxidate through exposure to the surrounding air.
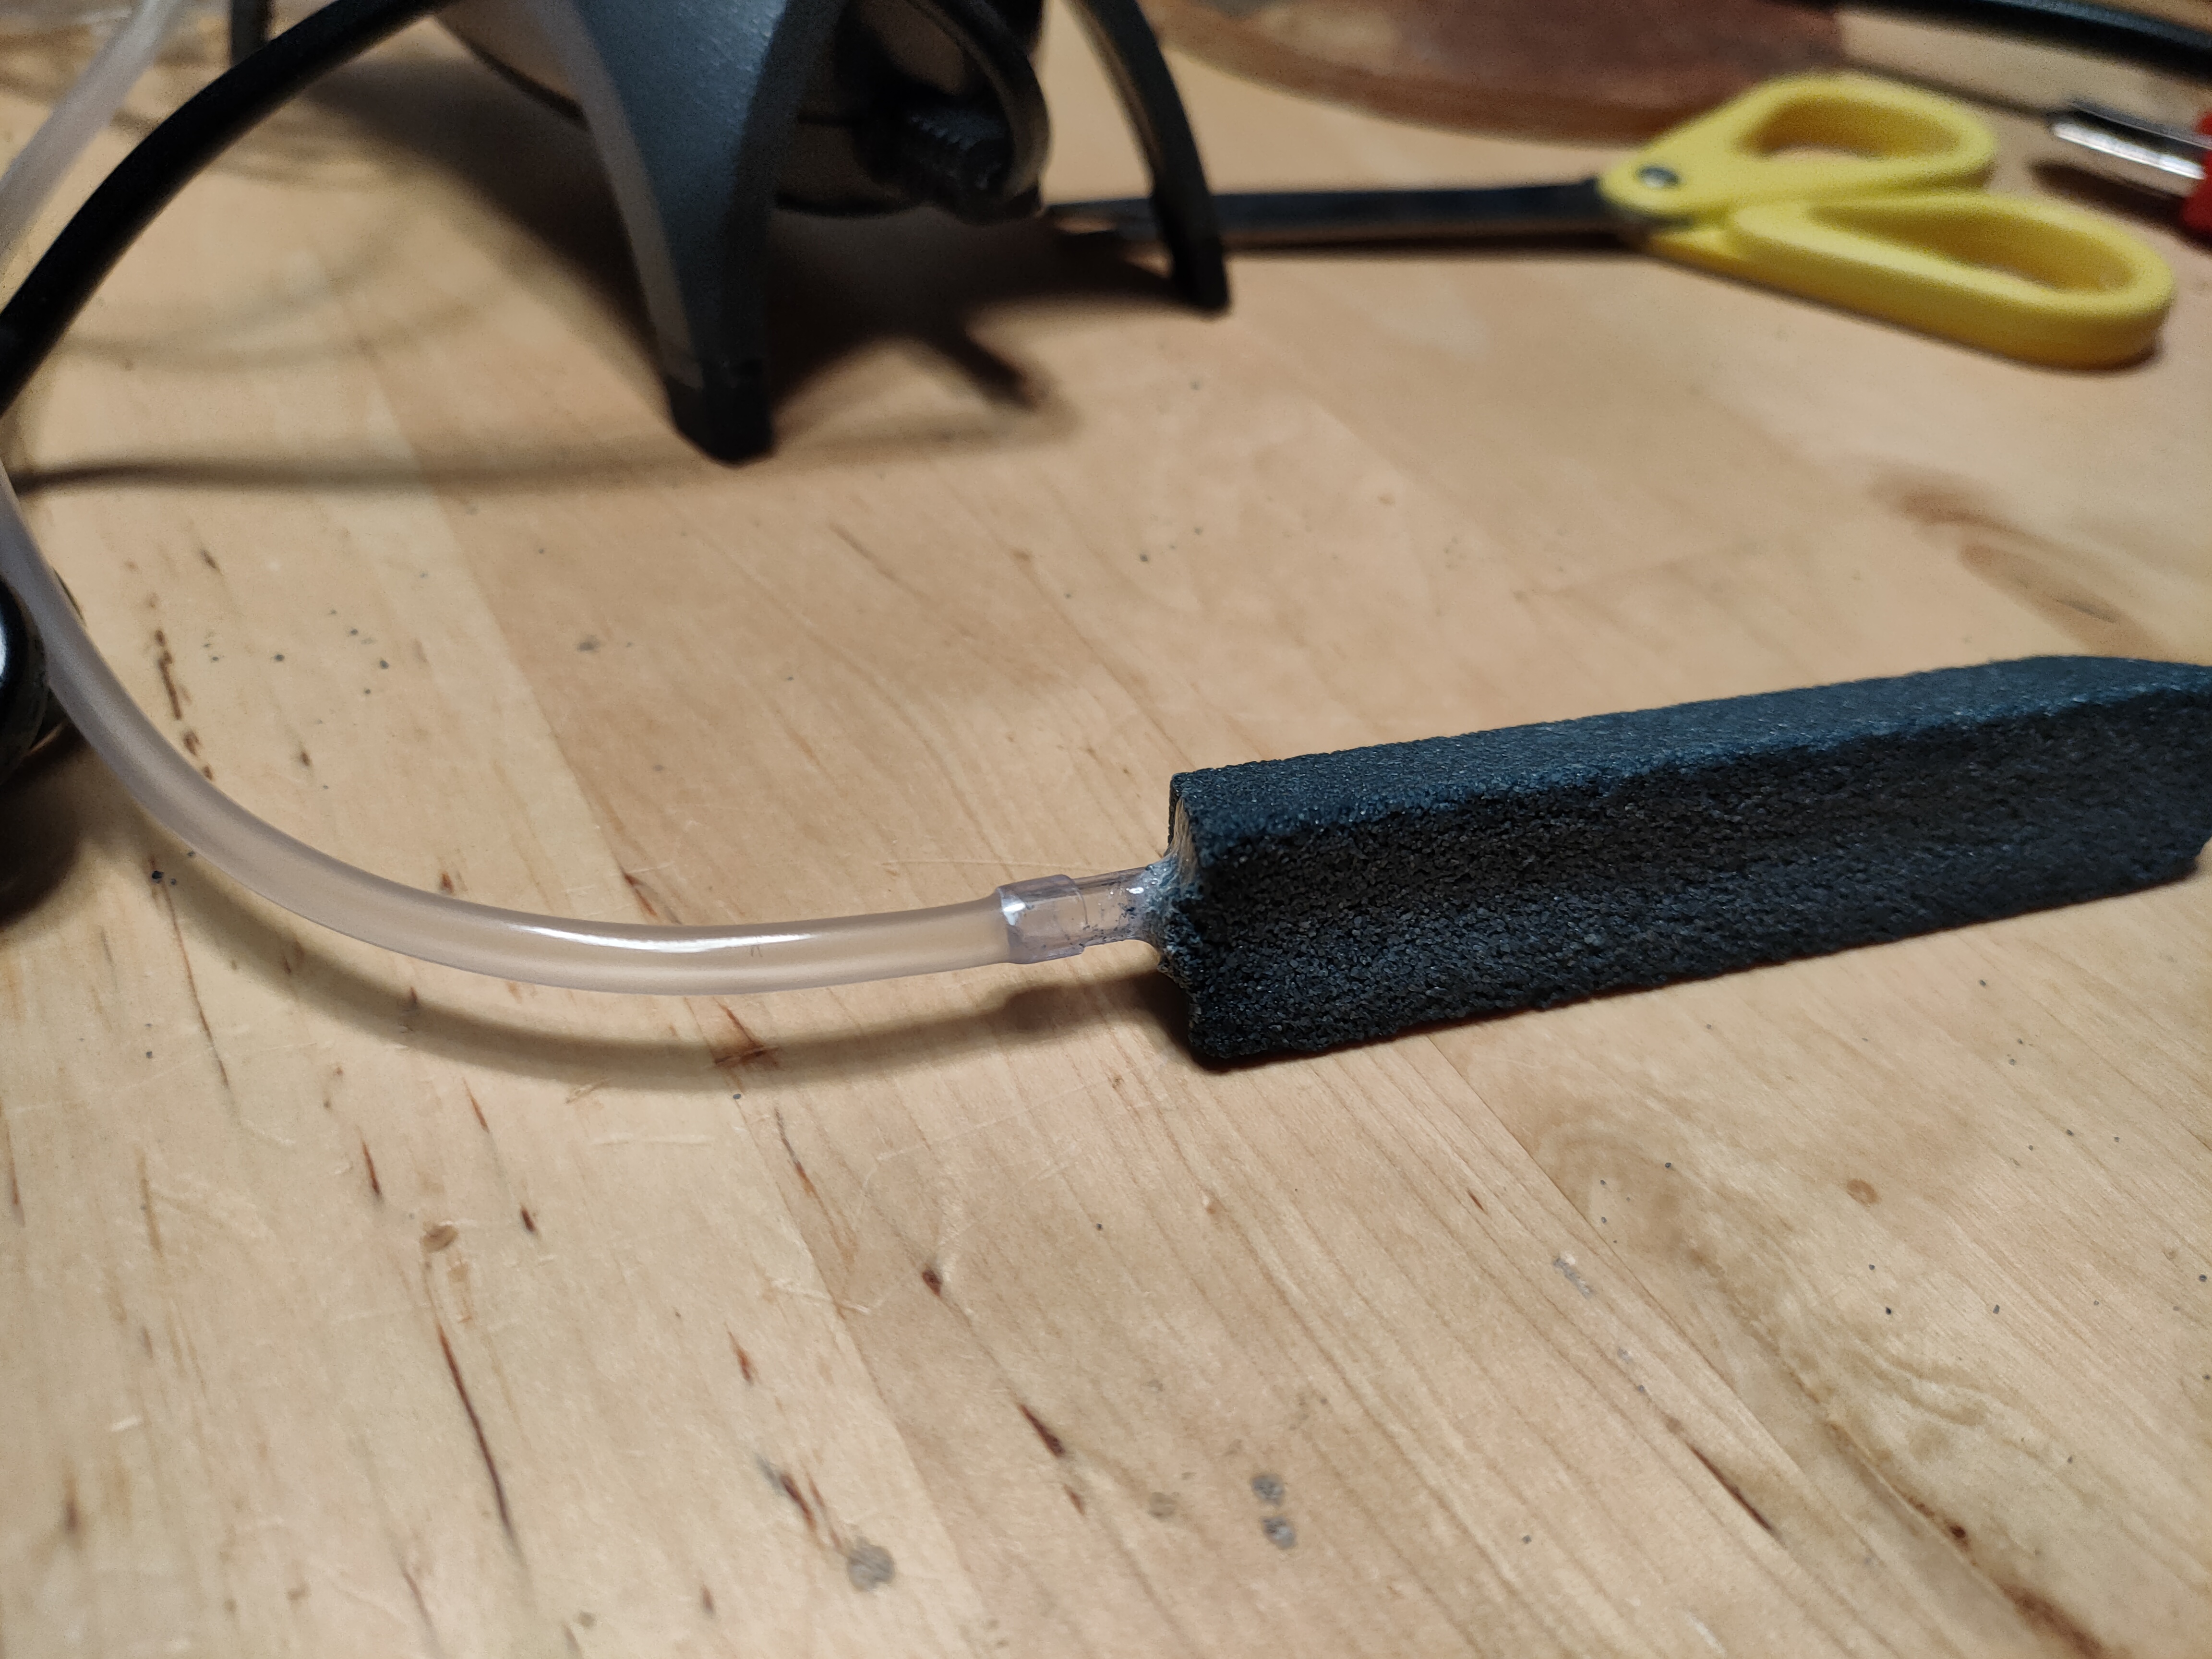
Aquarium bubble stone

Testing the air pump
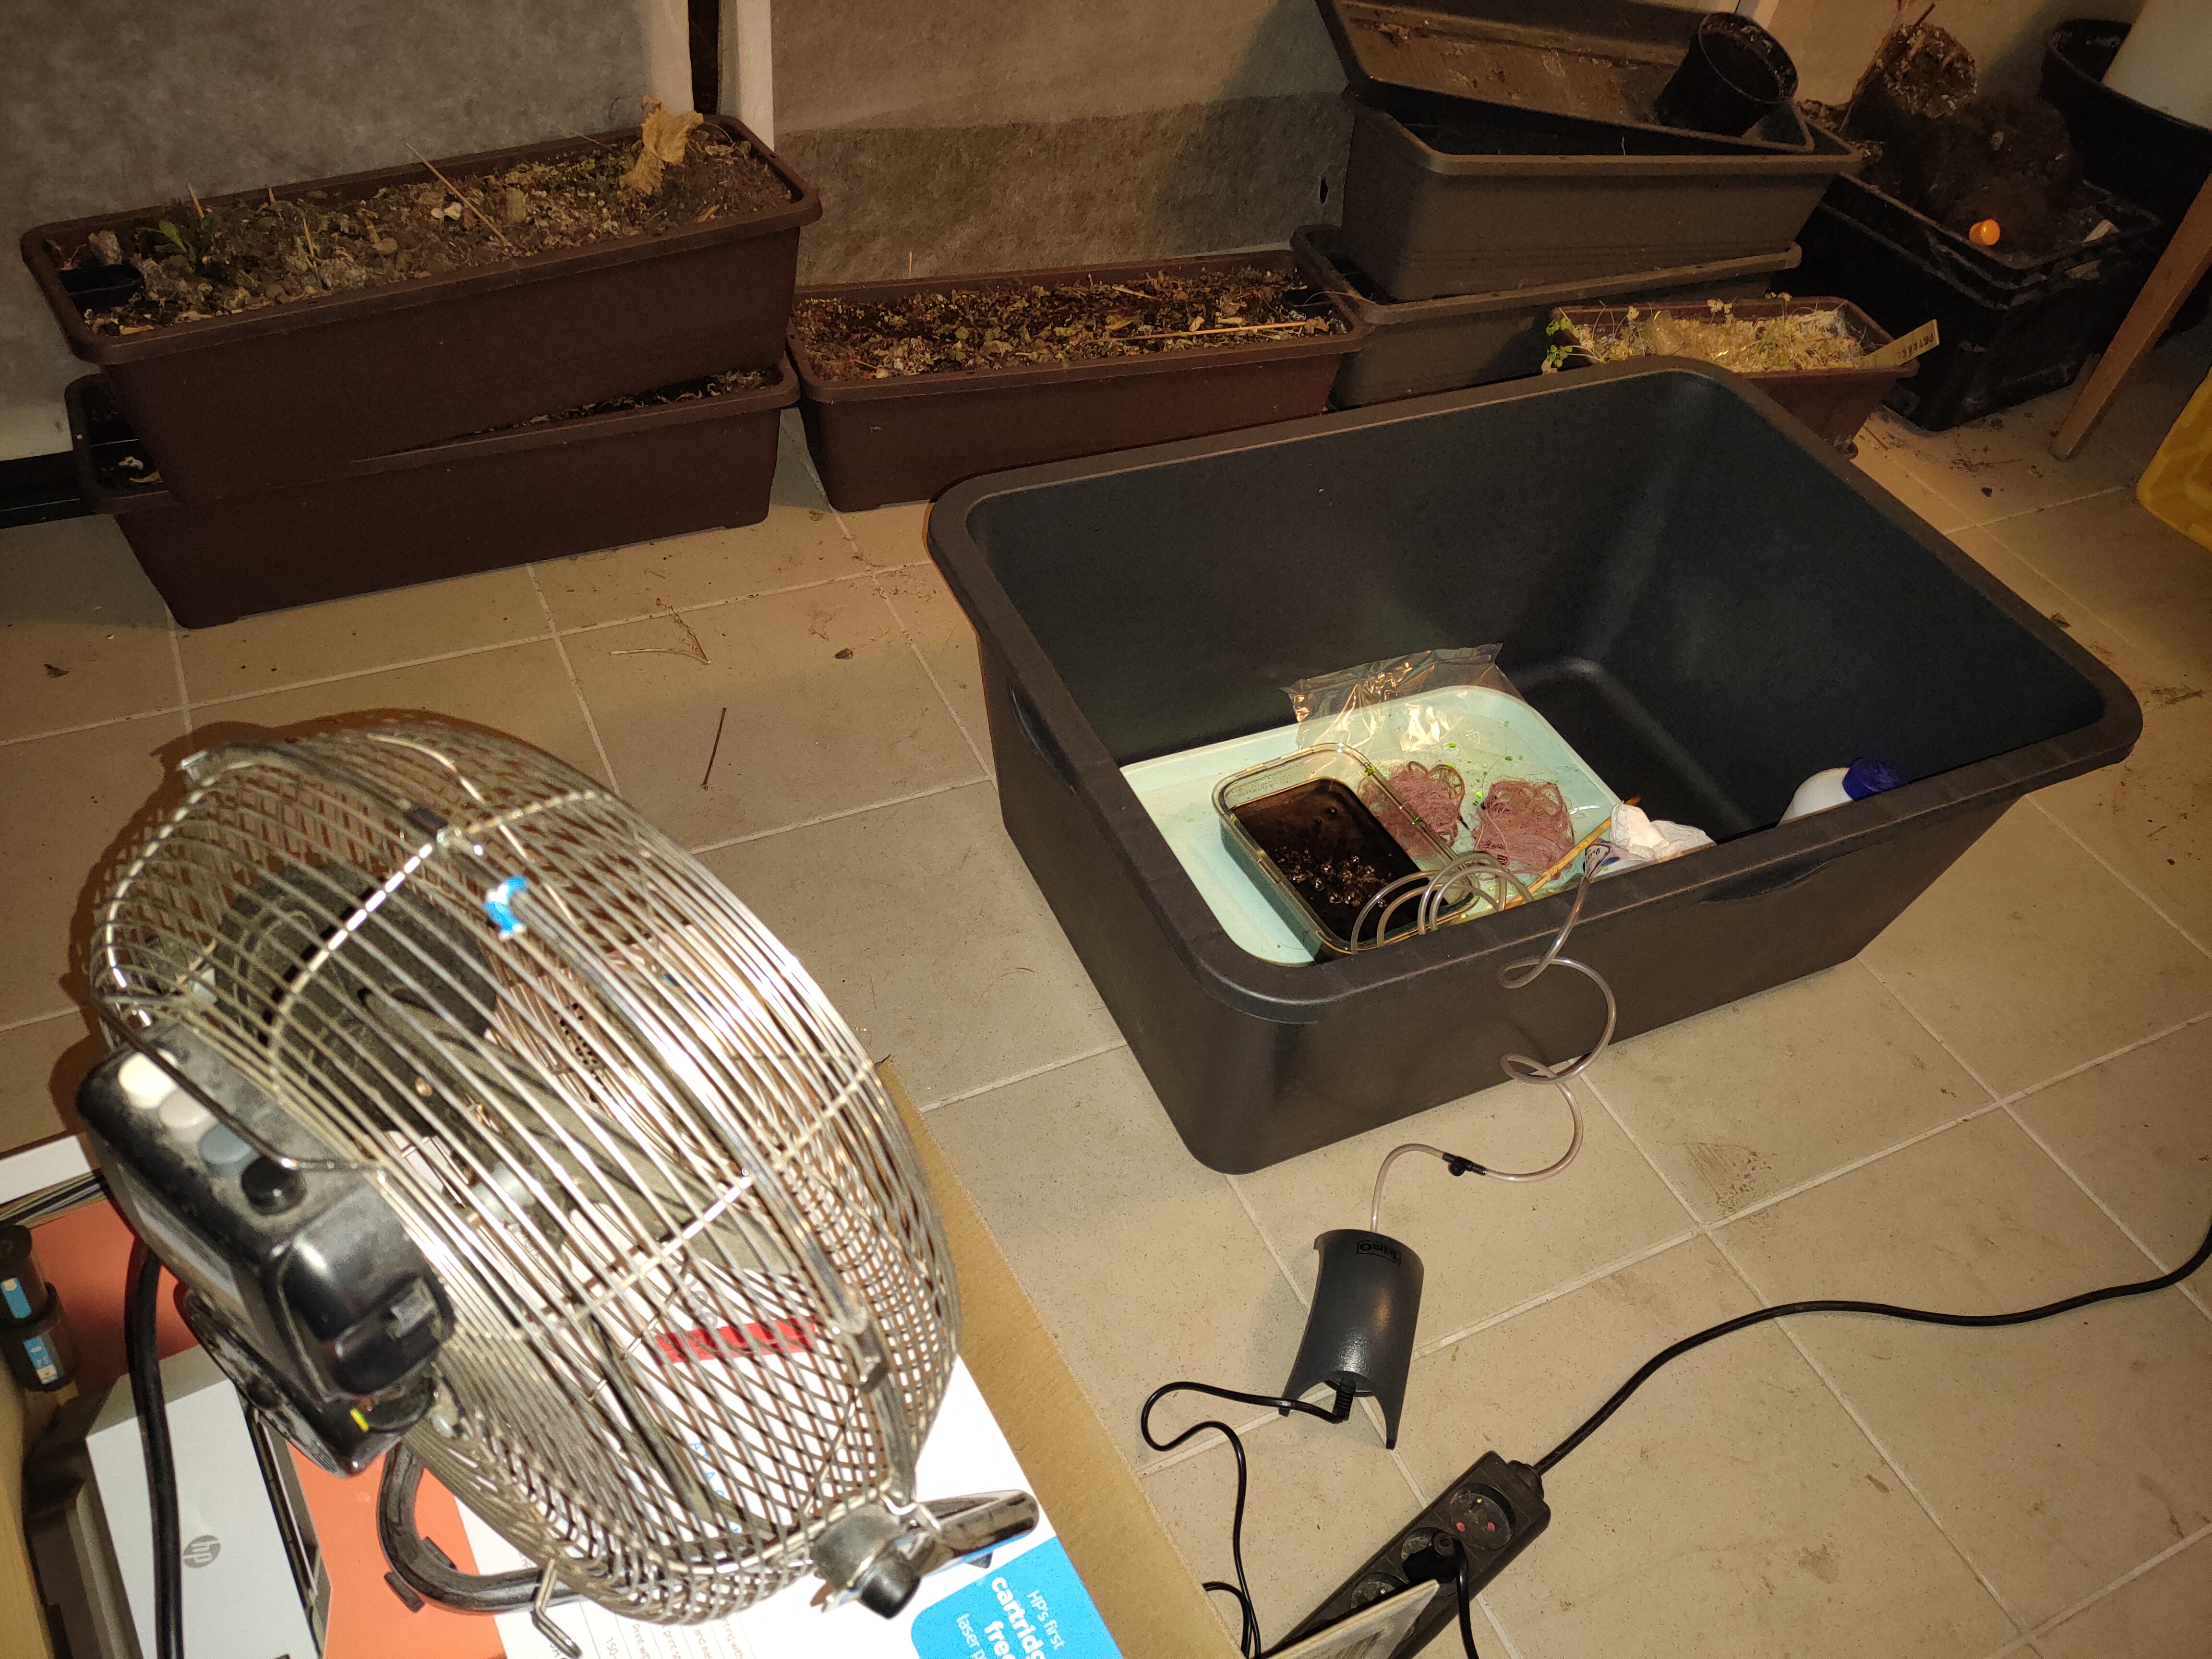
Oxidation setup with a fan to remove chlorine fumes
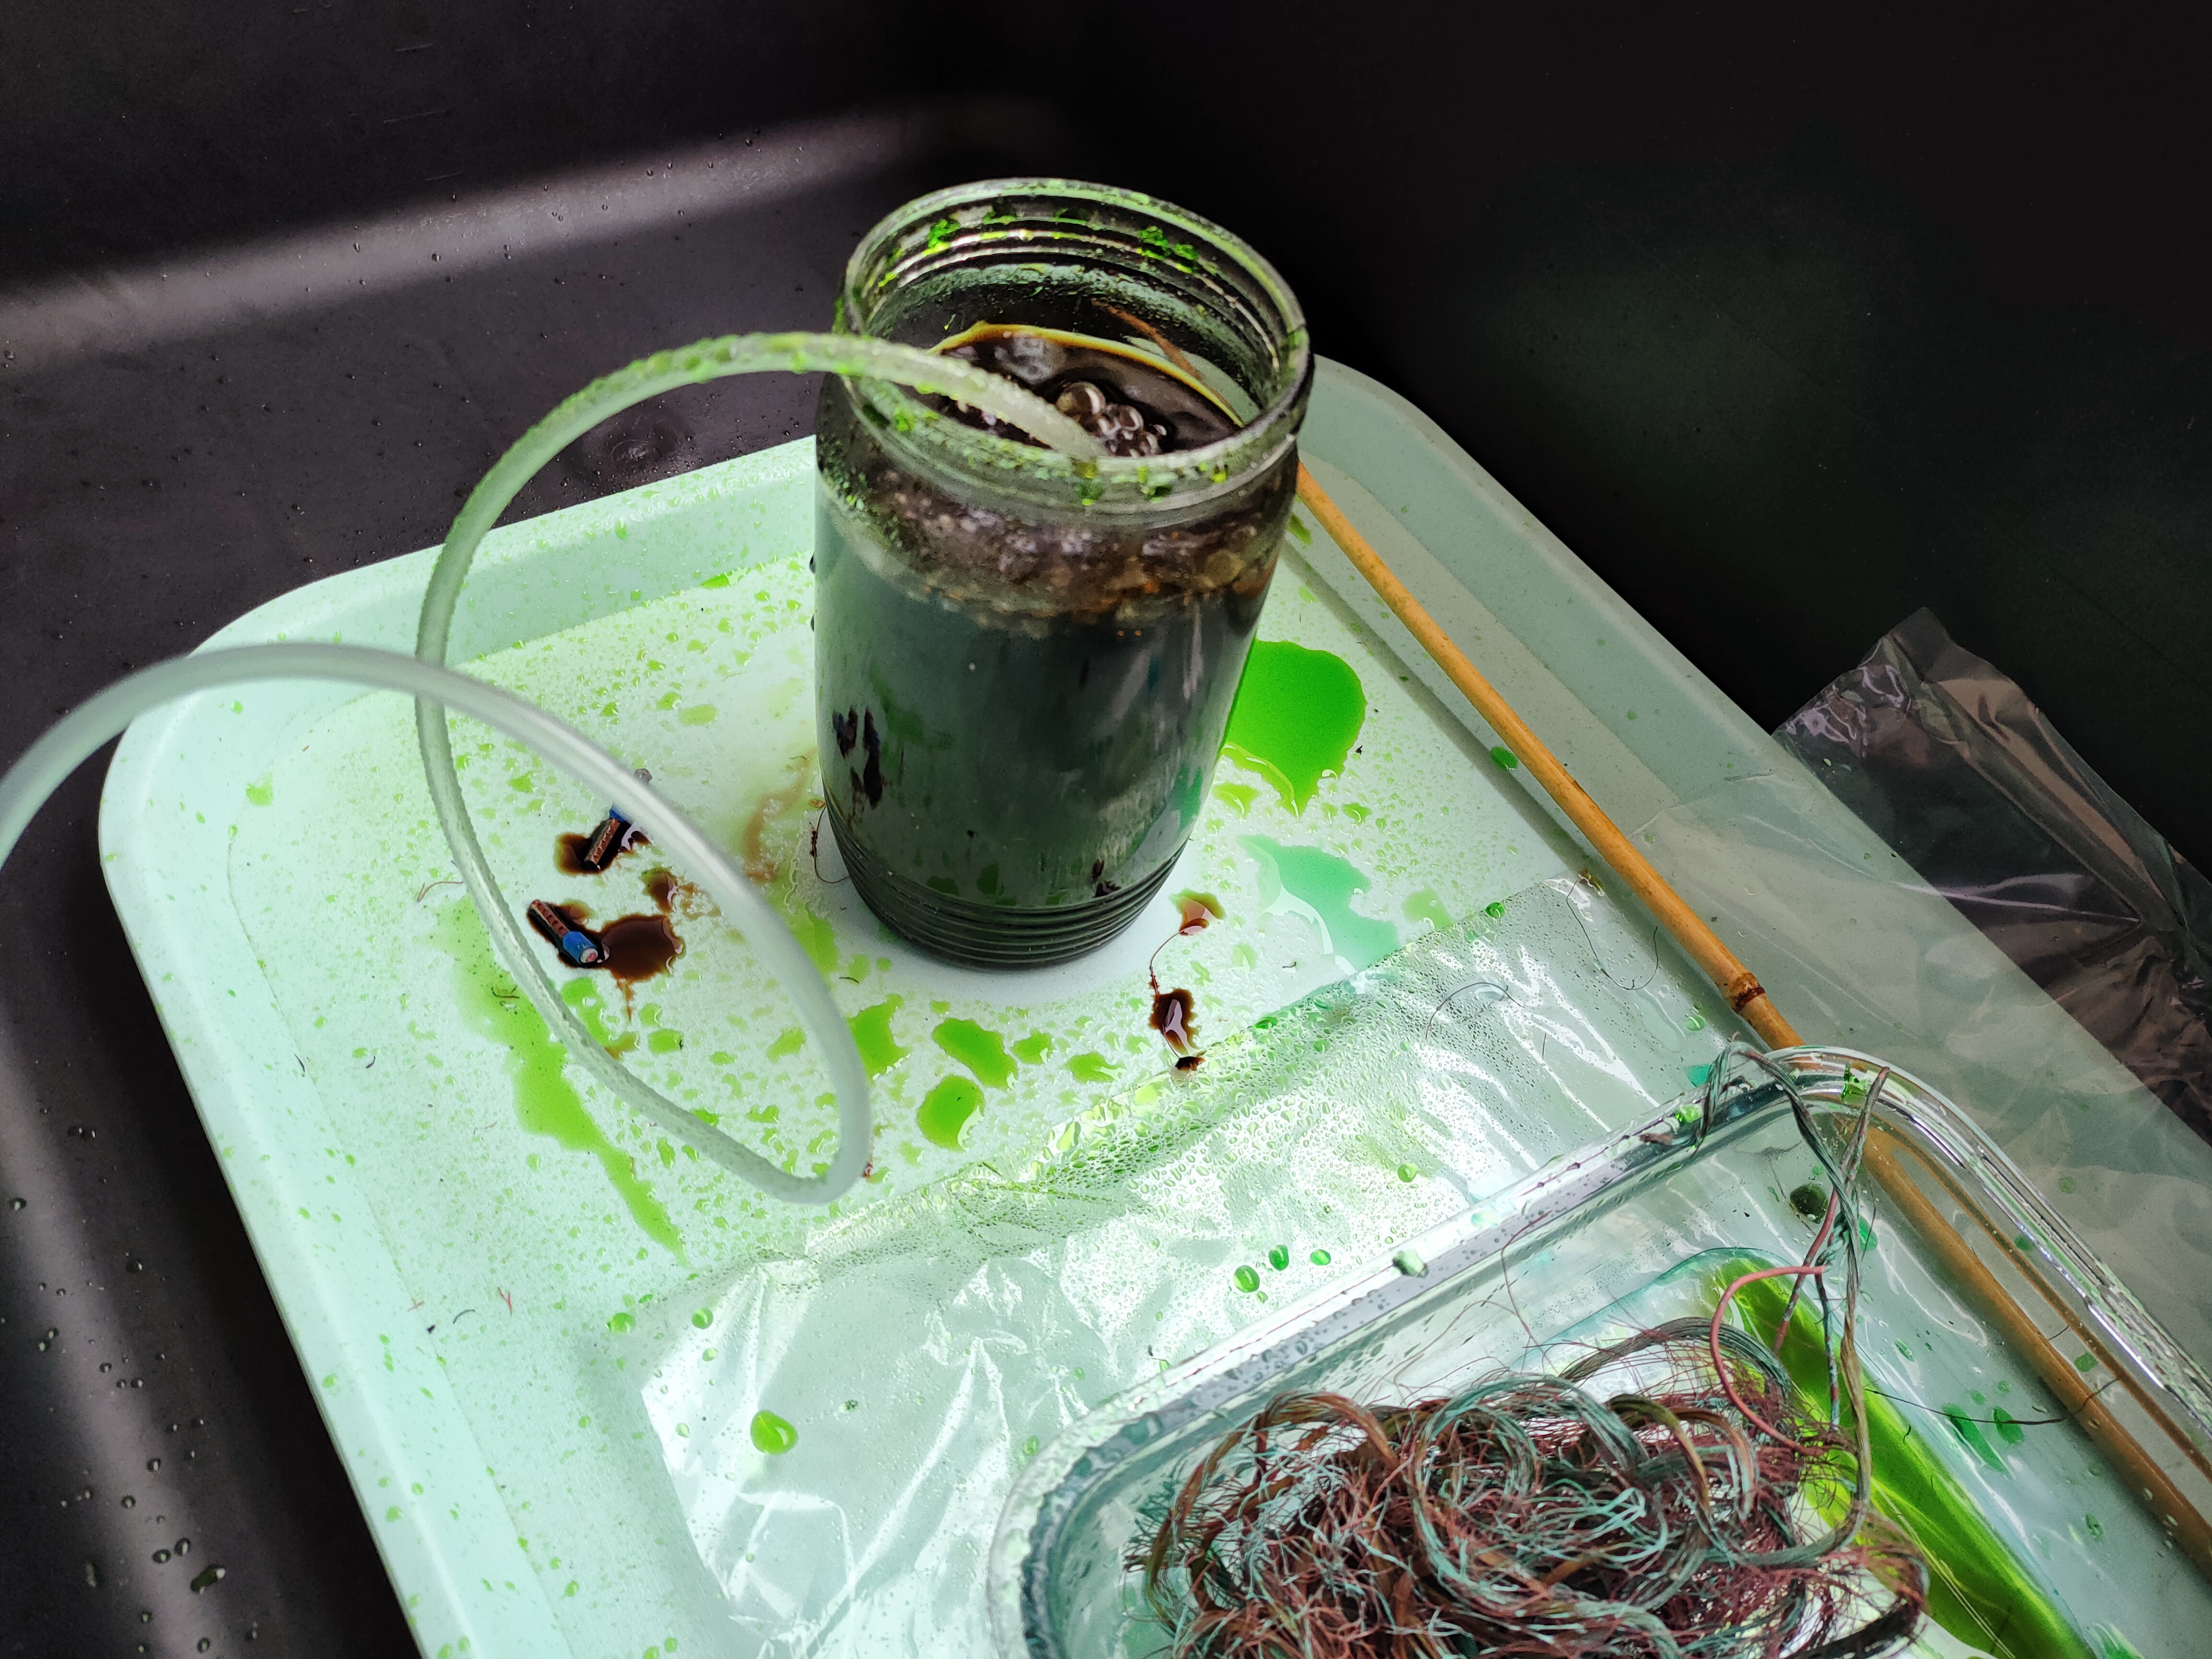
Oxidation in a jar, this is better than a wider container
When happy with the colour, put the solution in a plastic or glass container (with plastic or glass lid!). You don’t need much of it, you will only use approximately 1cm of it in the etching bowl.
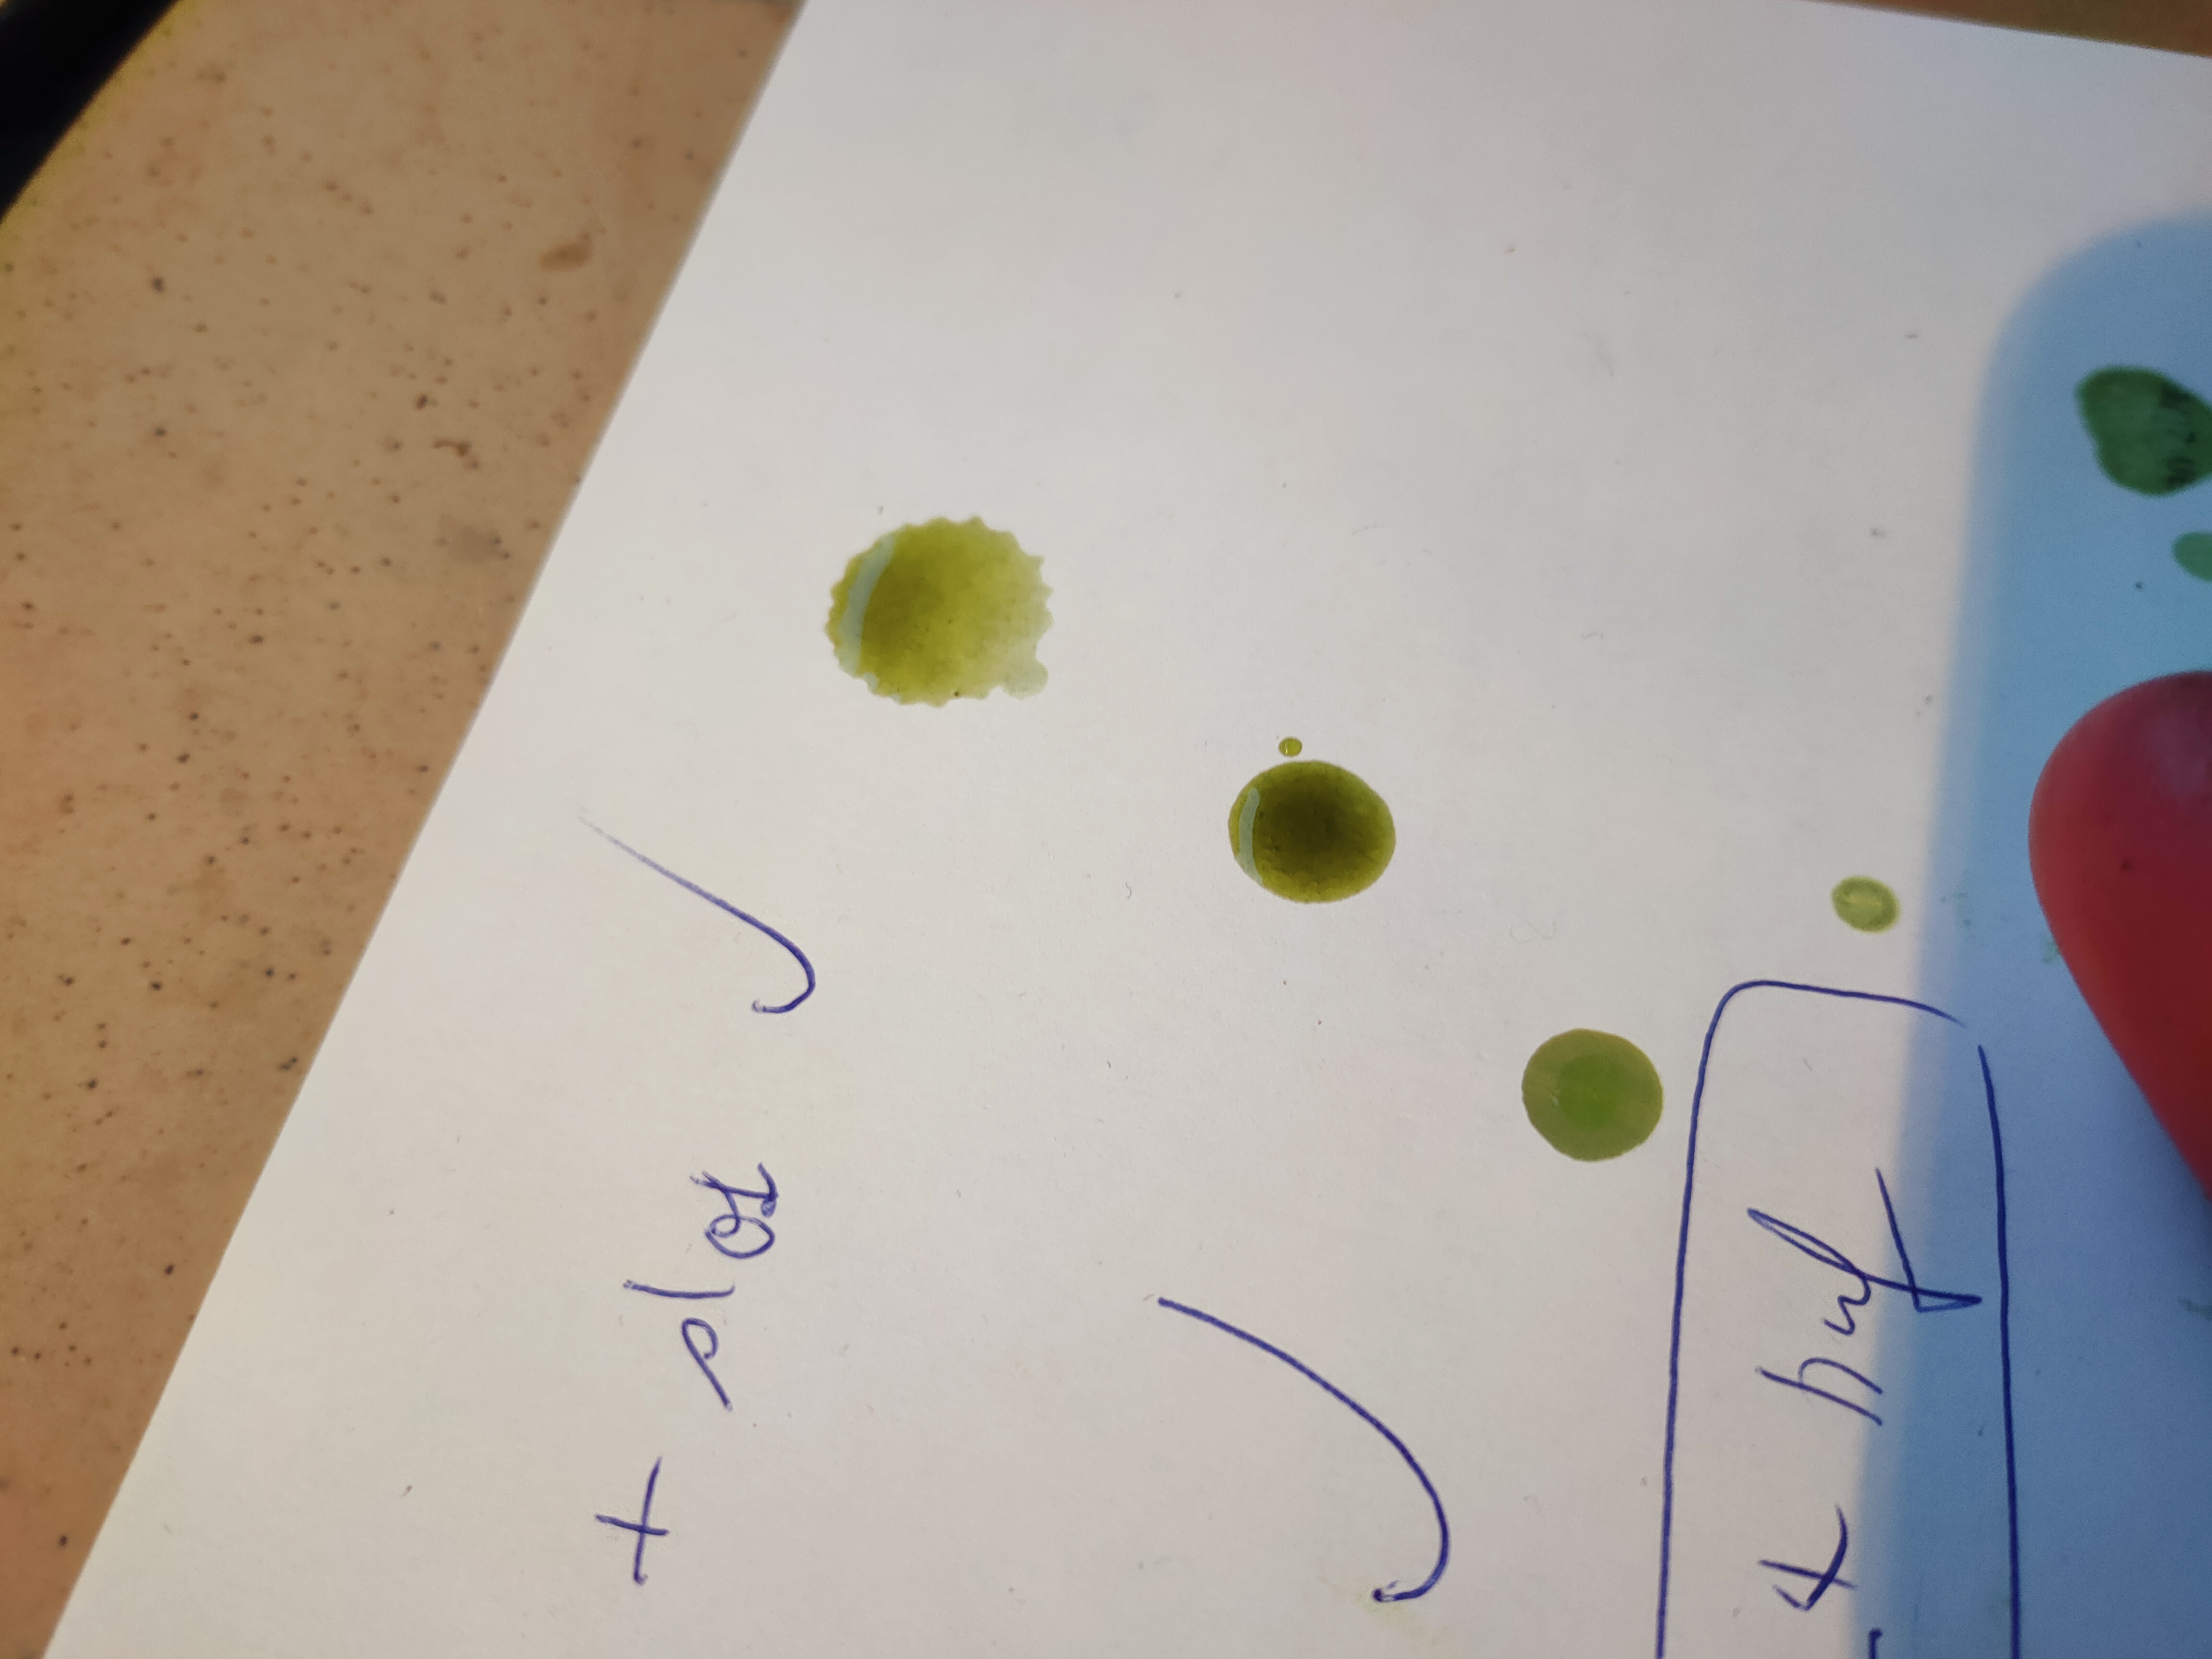
Samples to check colour
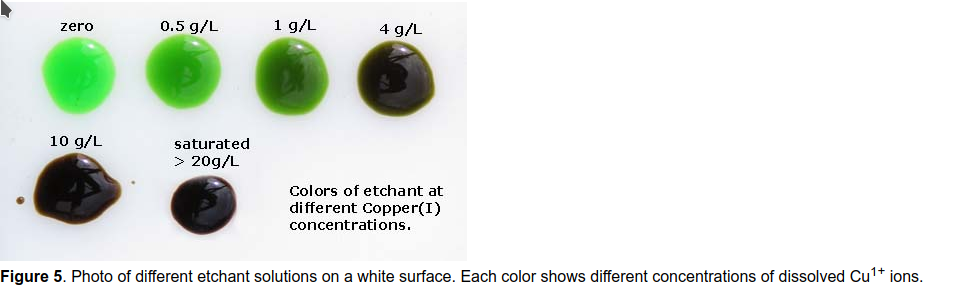
Colour sample sheet from some other tutorial

This is the point I decided it's green enough

First test etching to see if it works.
Keep the hydrochloric acid and peroxide for later, they can be used to refresh the solution when you feel it no longer works as fast as it should. This can happen when the concentration of chlorine ions drops too low. Note that peroxide has a short shelf life and will become just distilled water after some time.
Etching
To etch a PCB, simply put it in a bath of the etching solution. Etching will usually take up to 45 minutes. You can speed it up by heating the liquid, but don’t overdo it. It’s beneficial to also sometimes give a shake to the container so the copper is nicely exposed to the etchant, not clogged by spent cupric chloride. Don’t worry when the liquid turns black in the first few minutes, that’s normal, it’s still working. You can add some hydrogen peroxide to give it additional “bite”, then your board will be etched in minutes. Peroxide is expensive however and if you’re not in hurry, there’s really no need to do that.
Make sure to check on the board often and remove it from the bath just as the etching finished. Leaving it in longer will ruin it, you can get under-etching (the acid eats under your etch resist), or more often, the resist will start flaking and you end up with a plain square of glass laminate and no copper.
Regeneration
After etching a board, put the darkened liquid into a large plastic container and just leave it overnight or as long as needed. It will return into the nice green colour over time and can be used again. Shake the bottle to speed up the process.
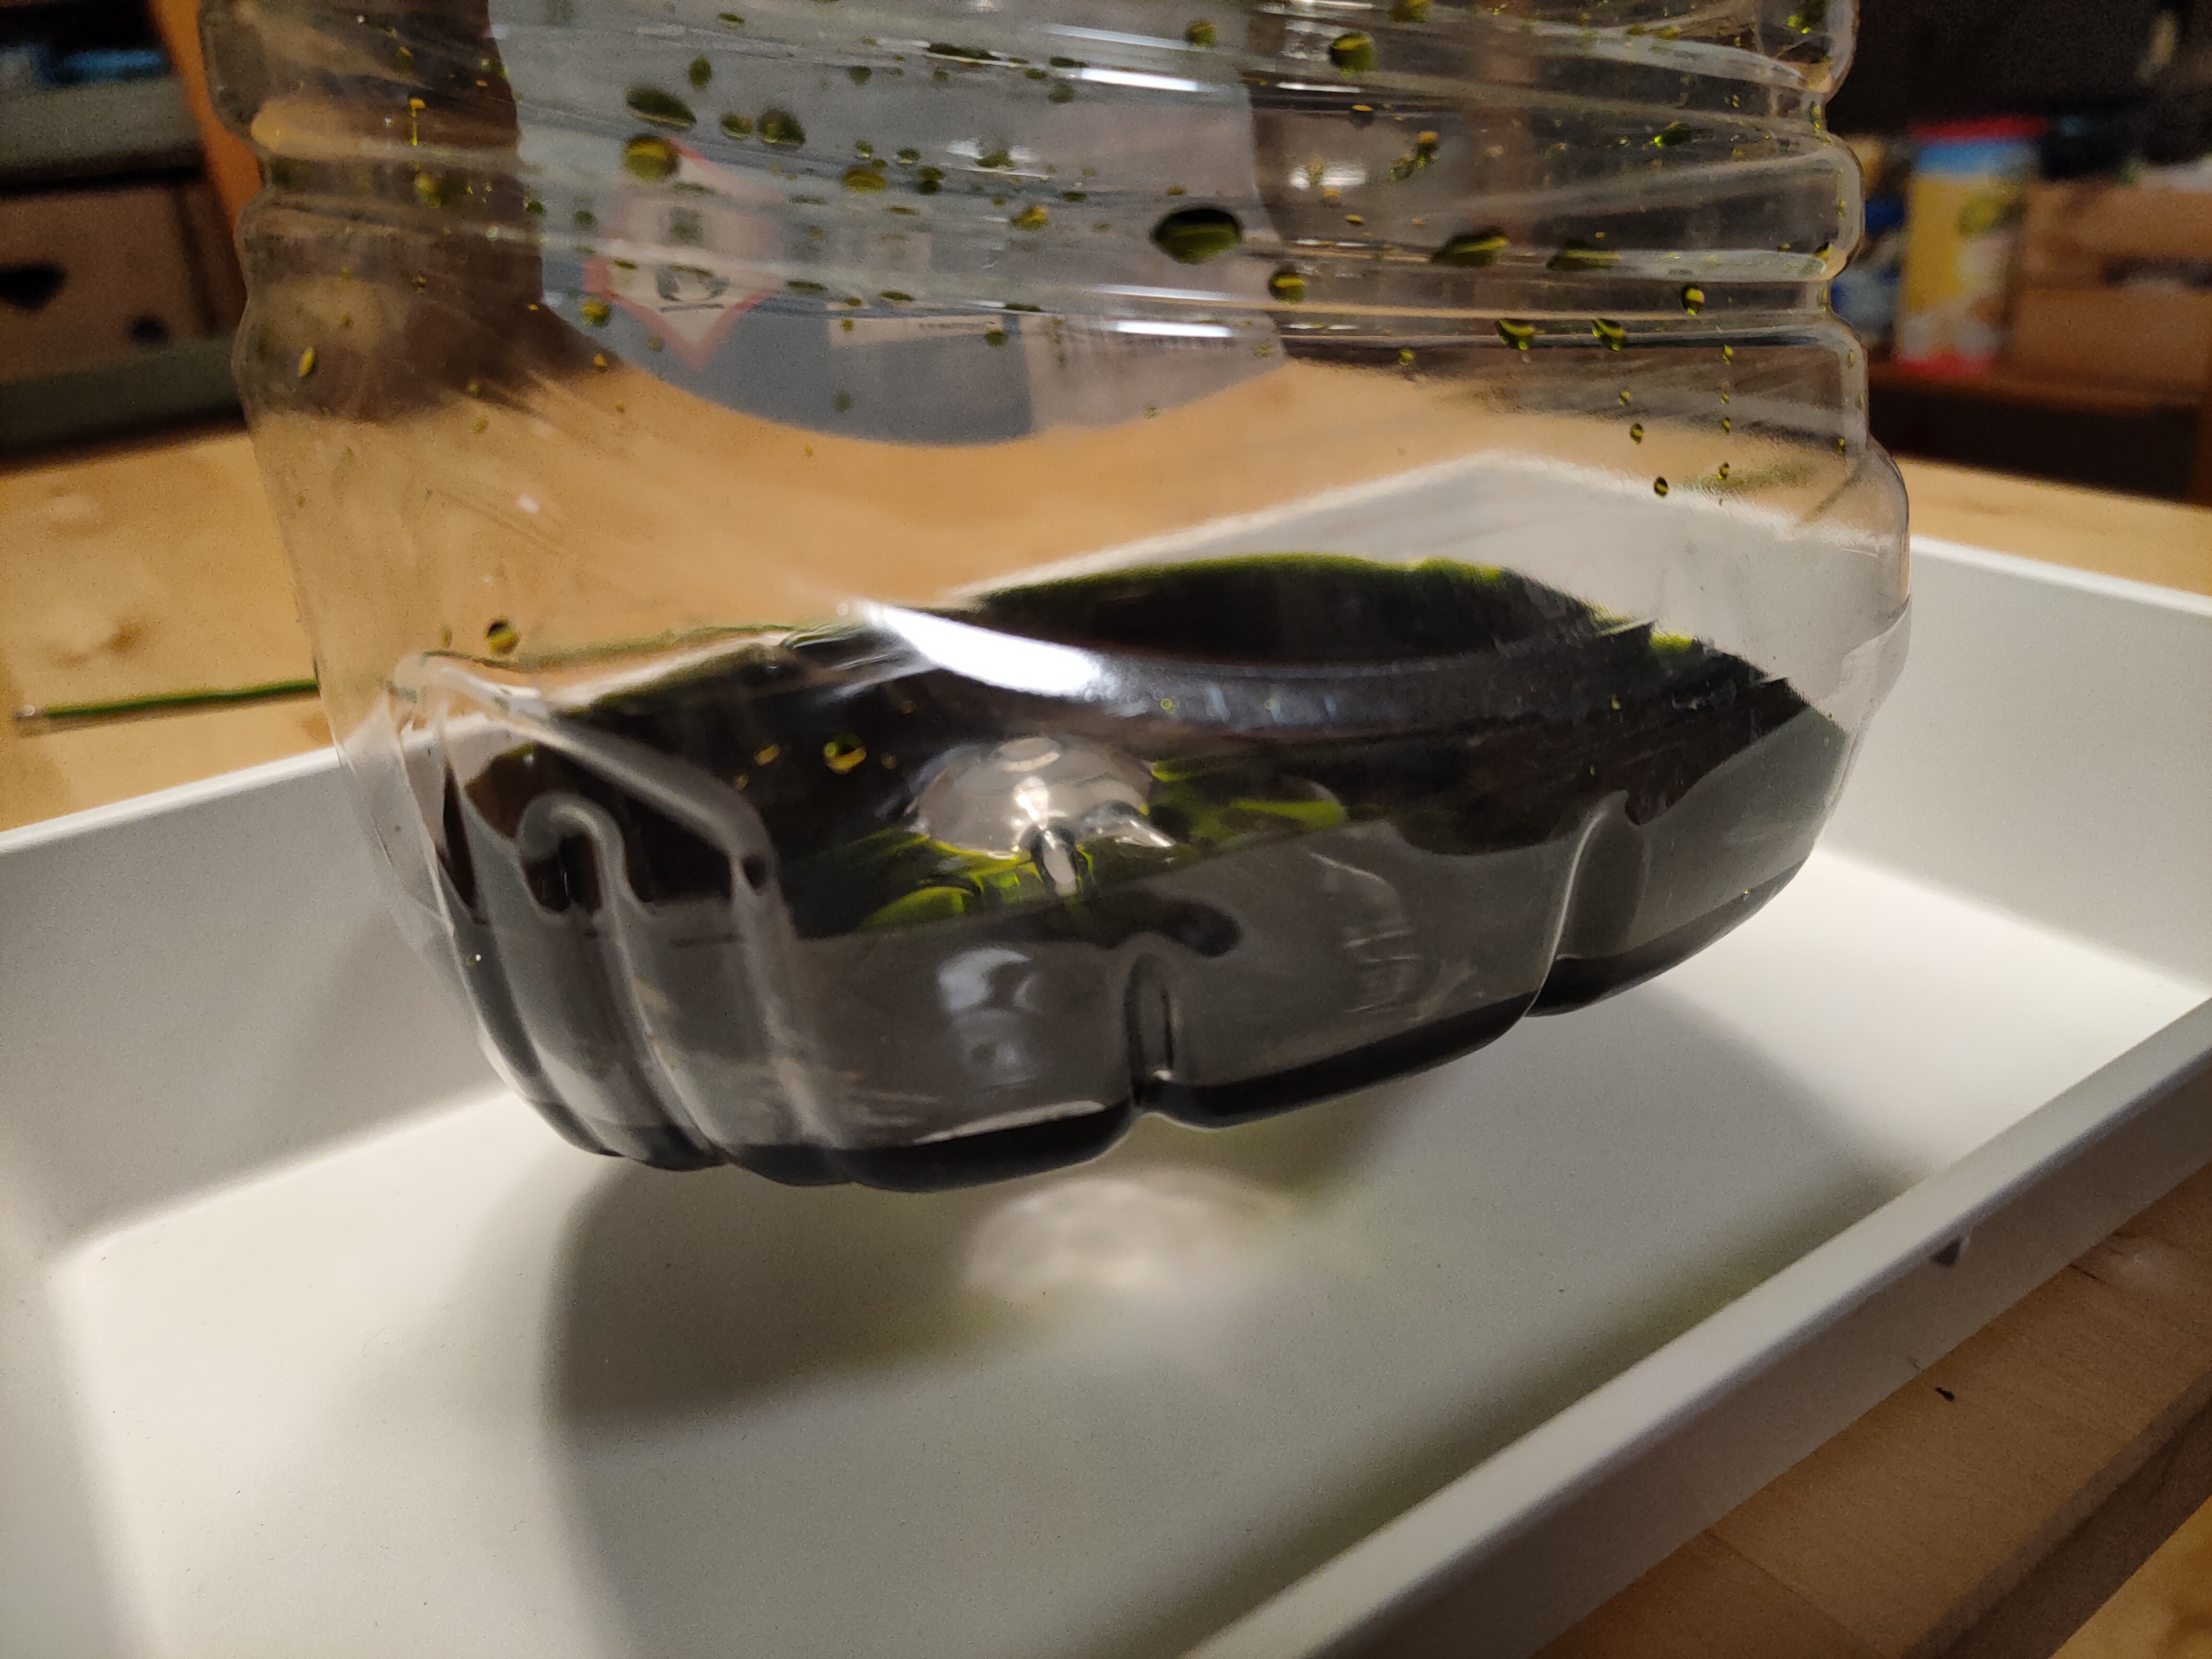
Spent etchant in a plastic bottle

Regenerated etchant regains its emerald colour
Etch resist
Limiting what parts of the board should be etched away is a whole another part of the process. There are couple ways to do it, the most basic one is to simply draw the circuit with a marker. It work well with a good ink. You can use the hand drawing method for through-hole parts where accuracy isn’t of great concern.
A common hobby method is called toner transfer; it works exactly as the name suggests, you print the pattern on a laser printer and then use a clothes iron (or some other method) to transfer the toner to the circuit board. This is the method I use, but it’s difficult to get reliable results with it. Sometimes it takes multiple tries before a board is ready for etching, and then it can still fail and etch where it shouldn’t. You can correct the transfer - to some extent - with a marker.
By far the best method uses boards coated with a UV-sensitive layer that’s affected by UV light. The pattern is printed to a transparent sheet, then transferred to the board using a UV lamp. This method needs a developer, a chemical that hardens parts of the photo-sensitive board. The rest is the same like with the previous two methods. You can achieve very high precision with photo-transfer, but it’s also the most expensive method.
Here’s some photos from my experiments with toner transfer:
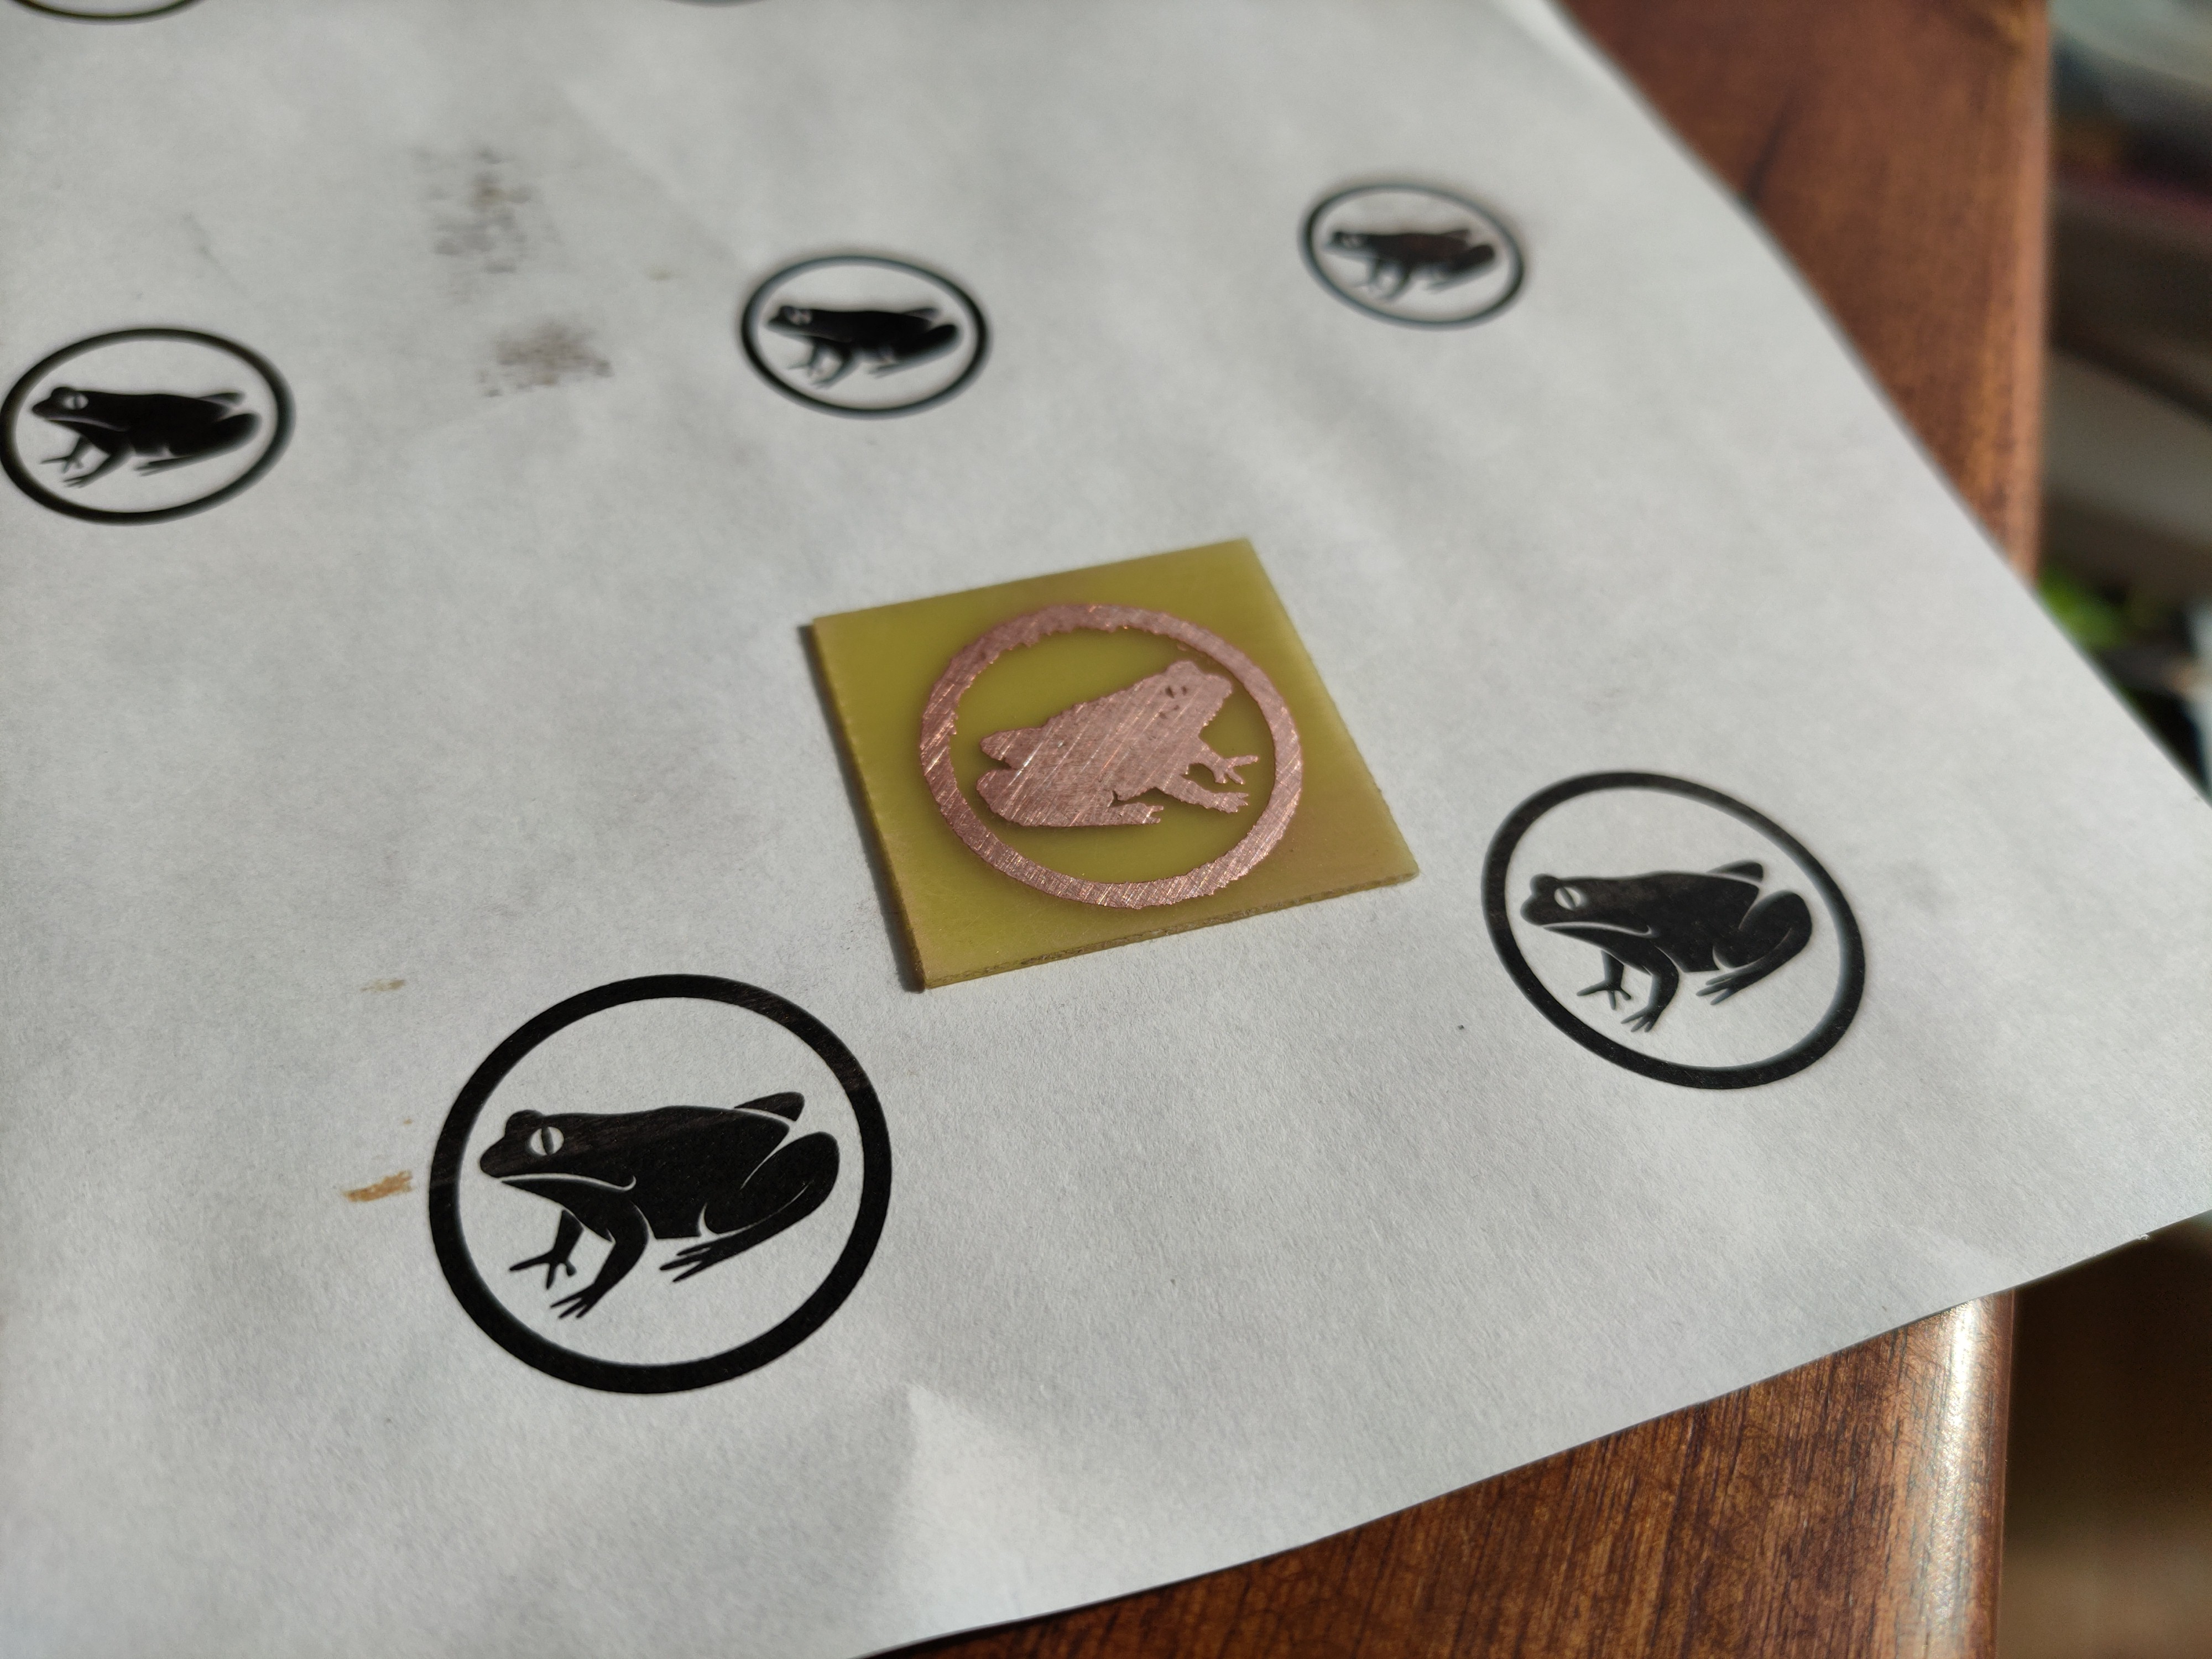
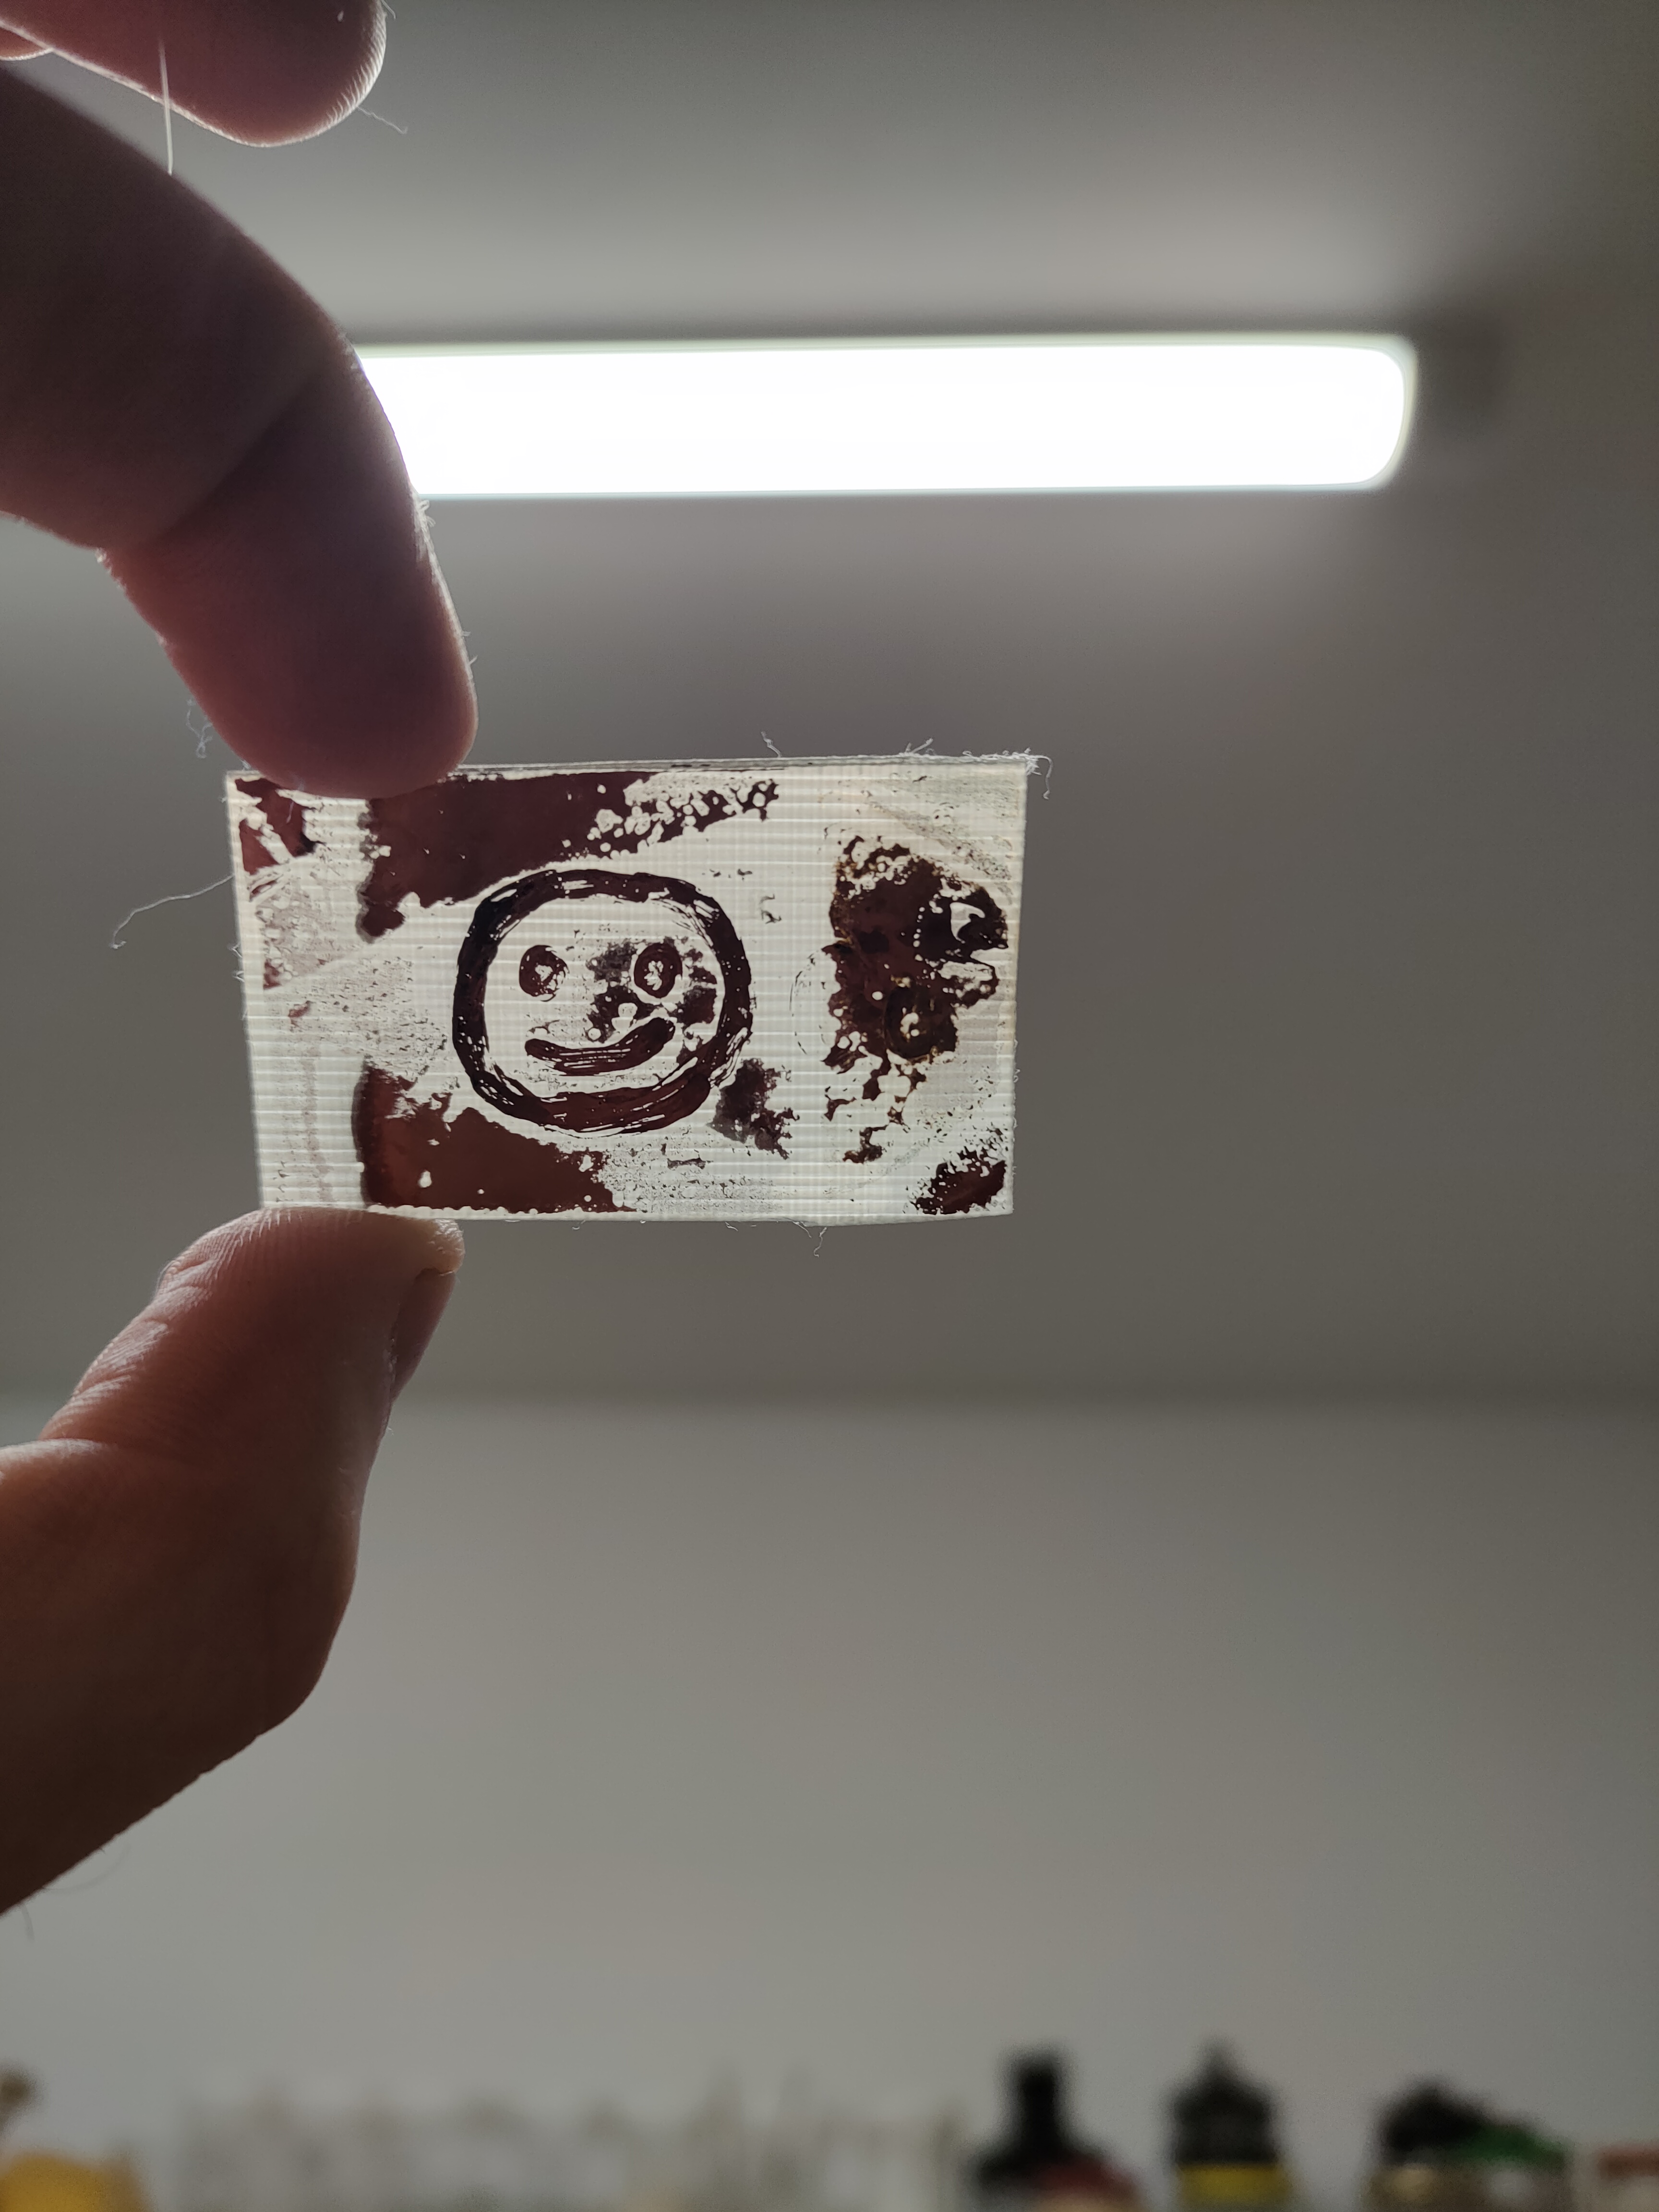
Test laser-printed frogs and the resulting board, notice how it's mirrored
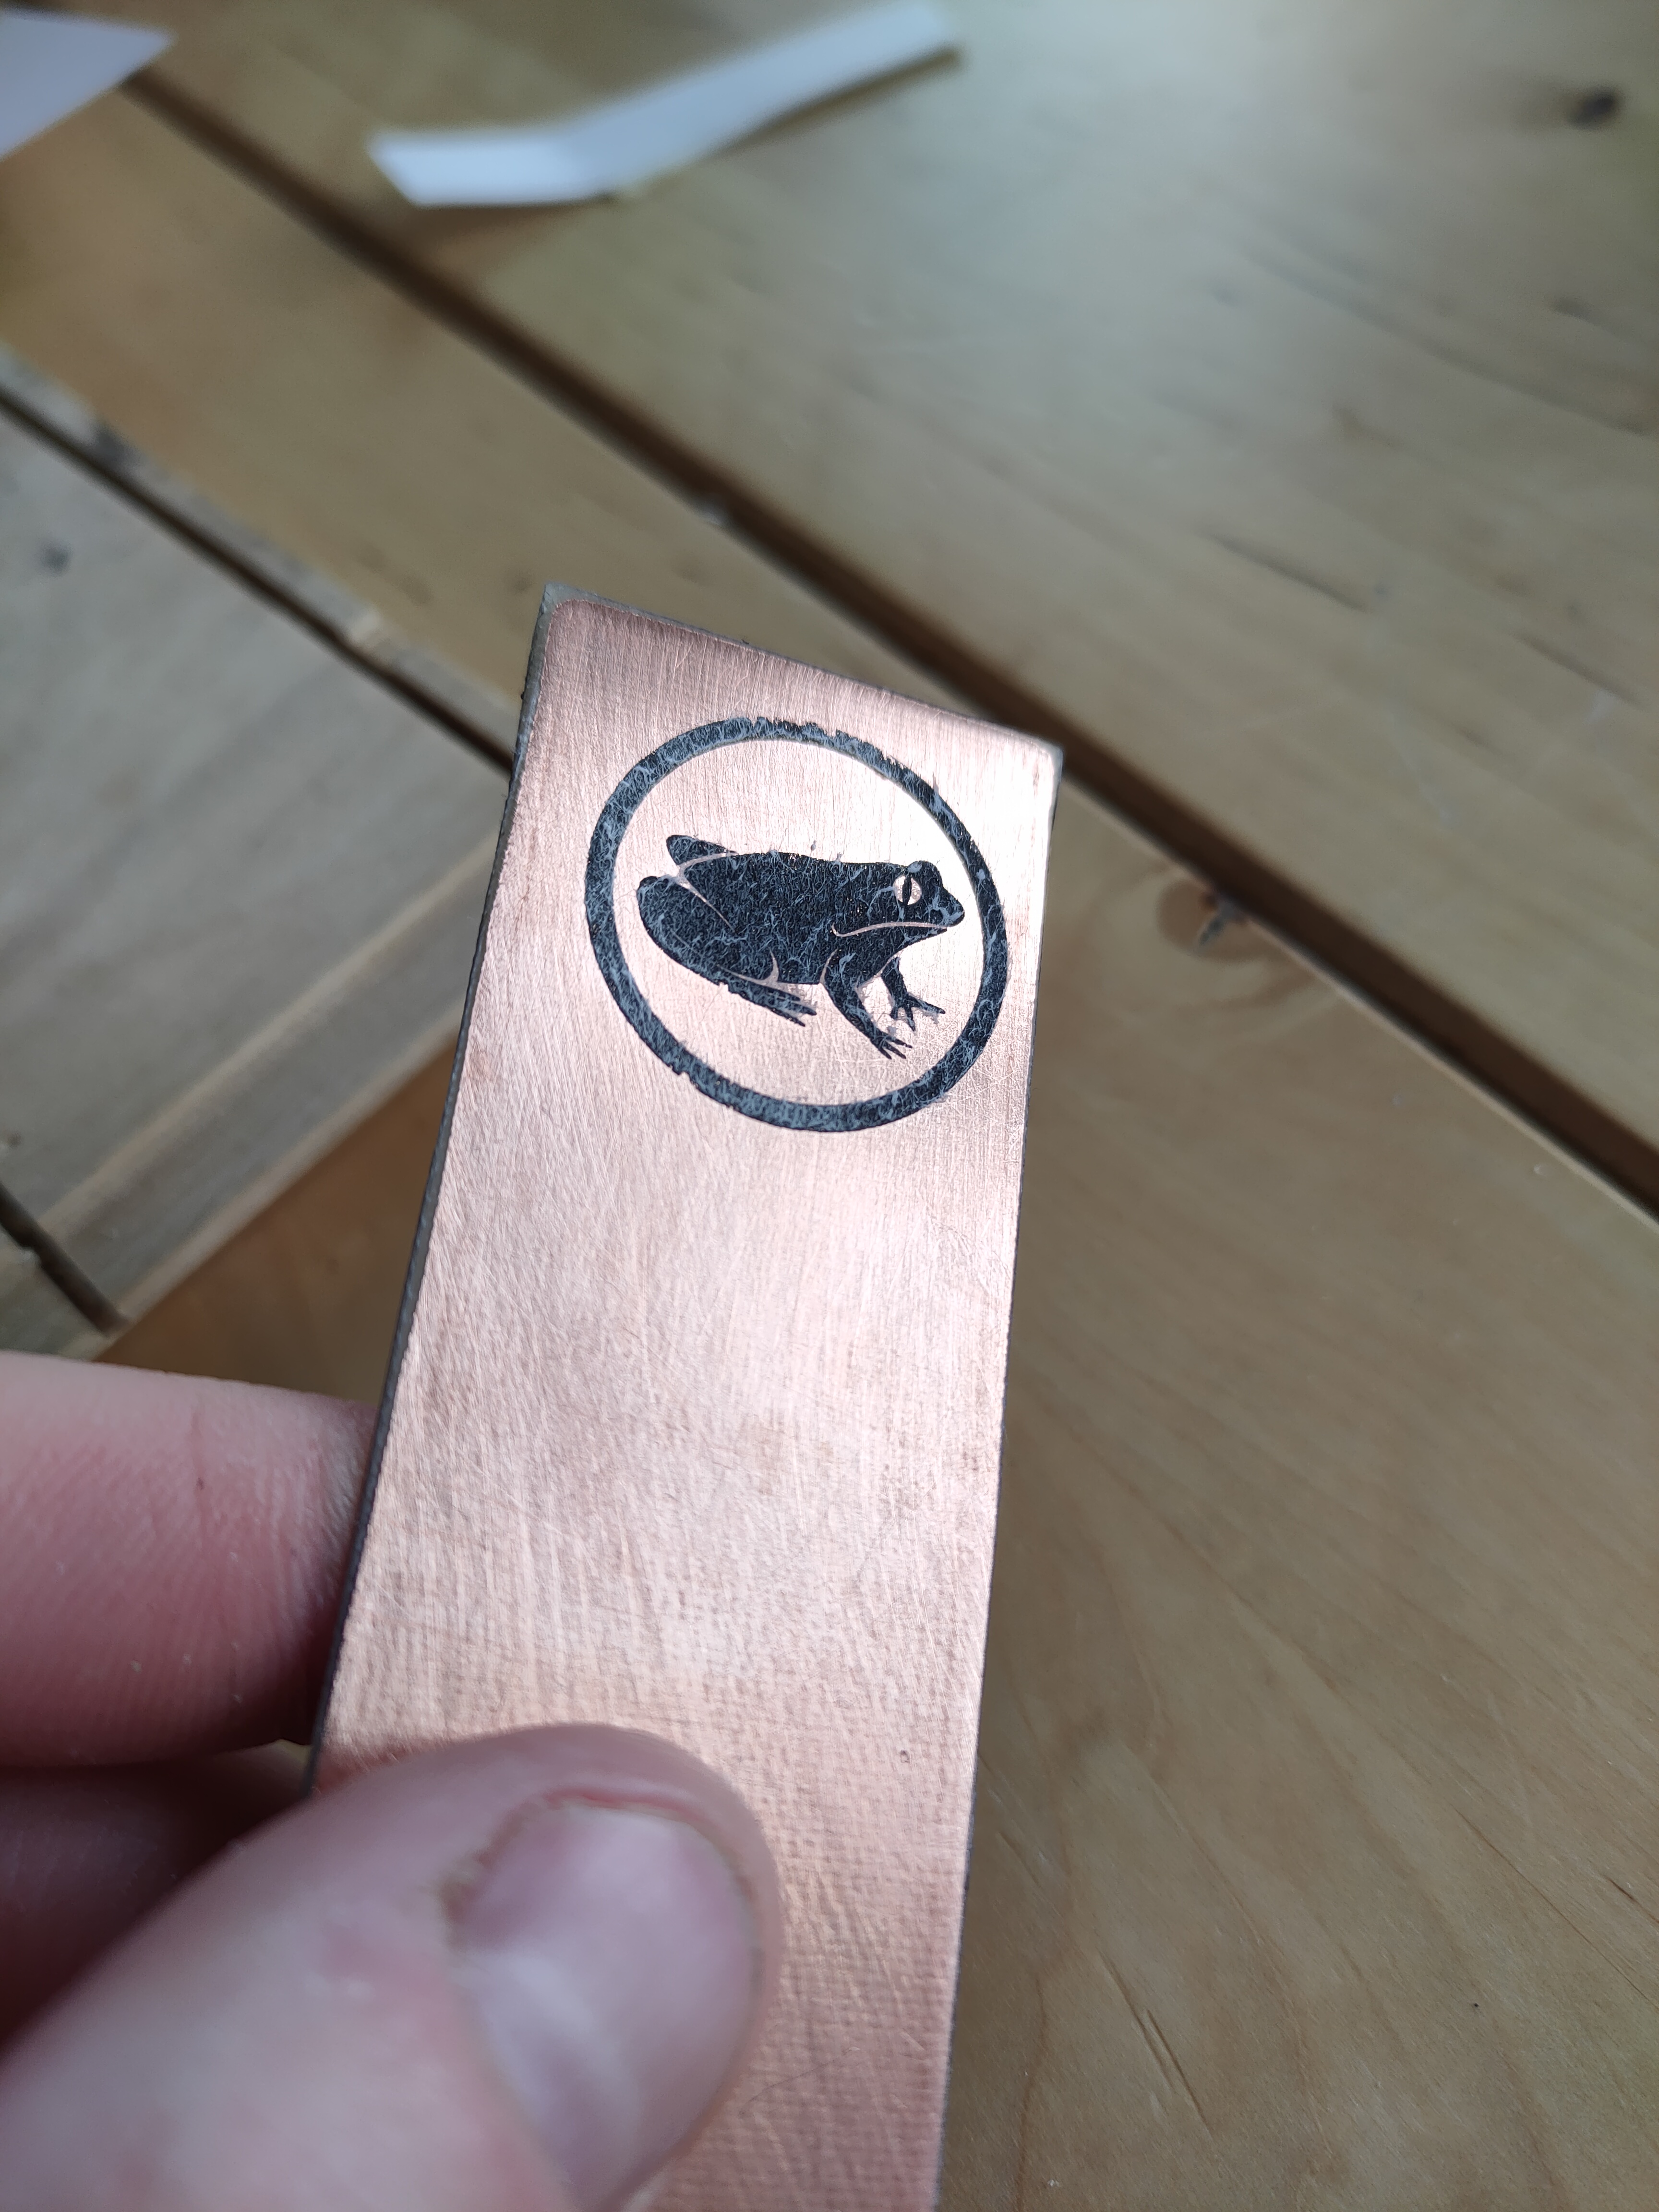
Frog pattern successfully transferred
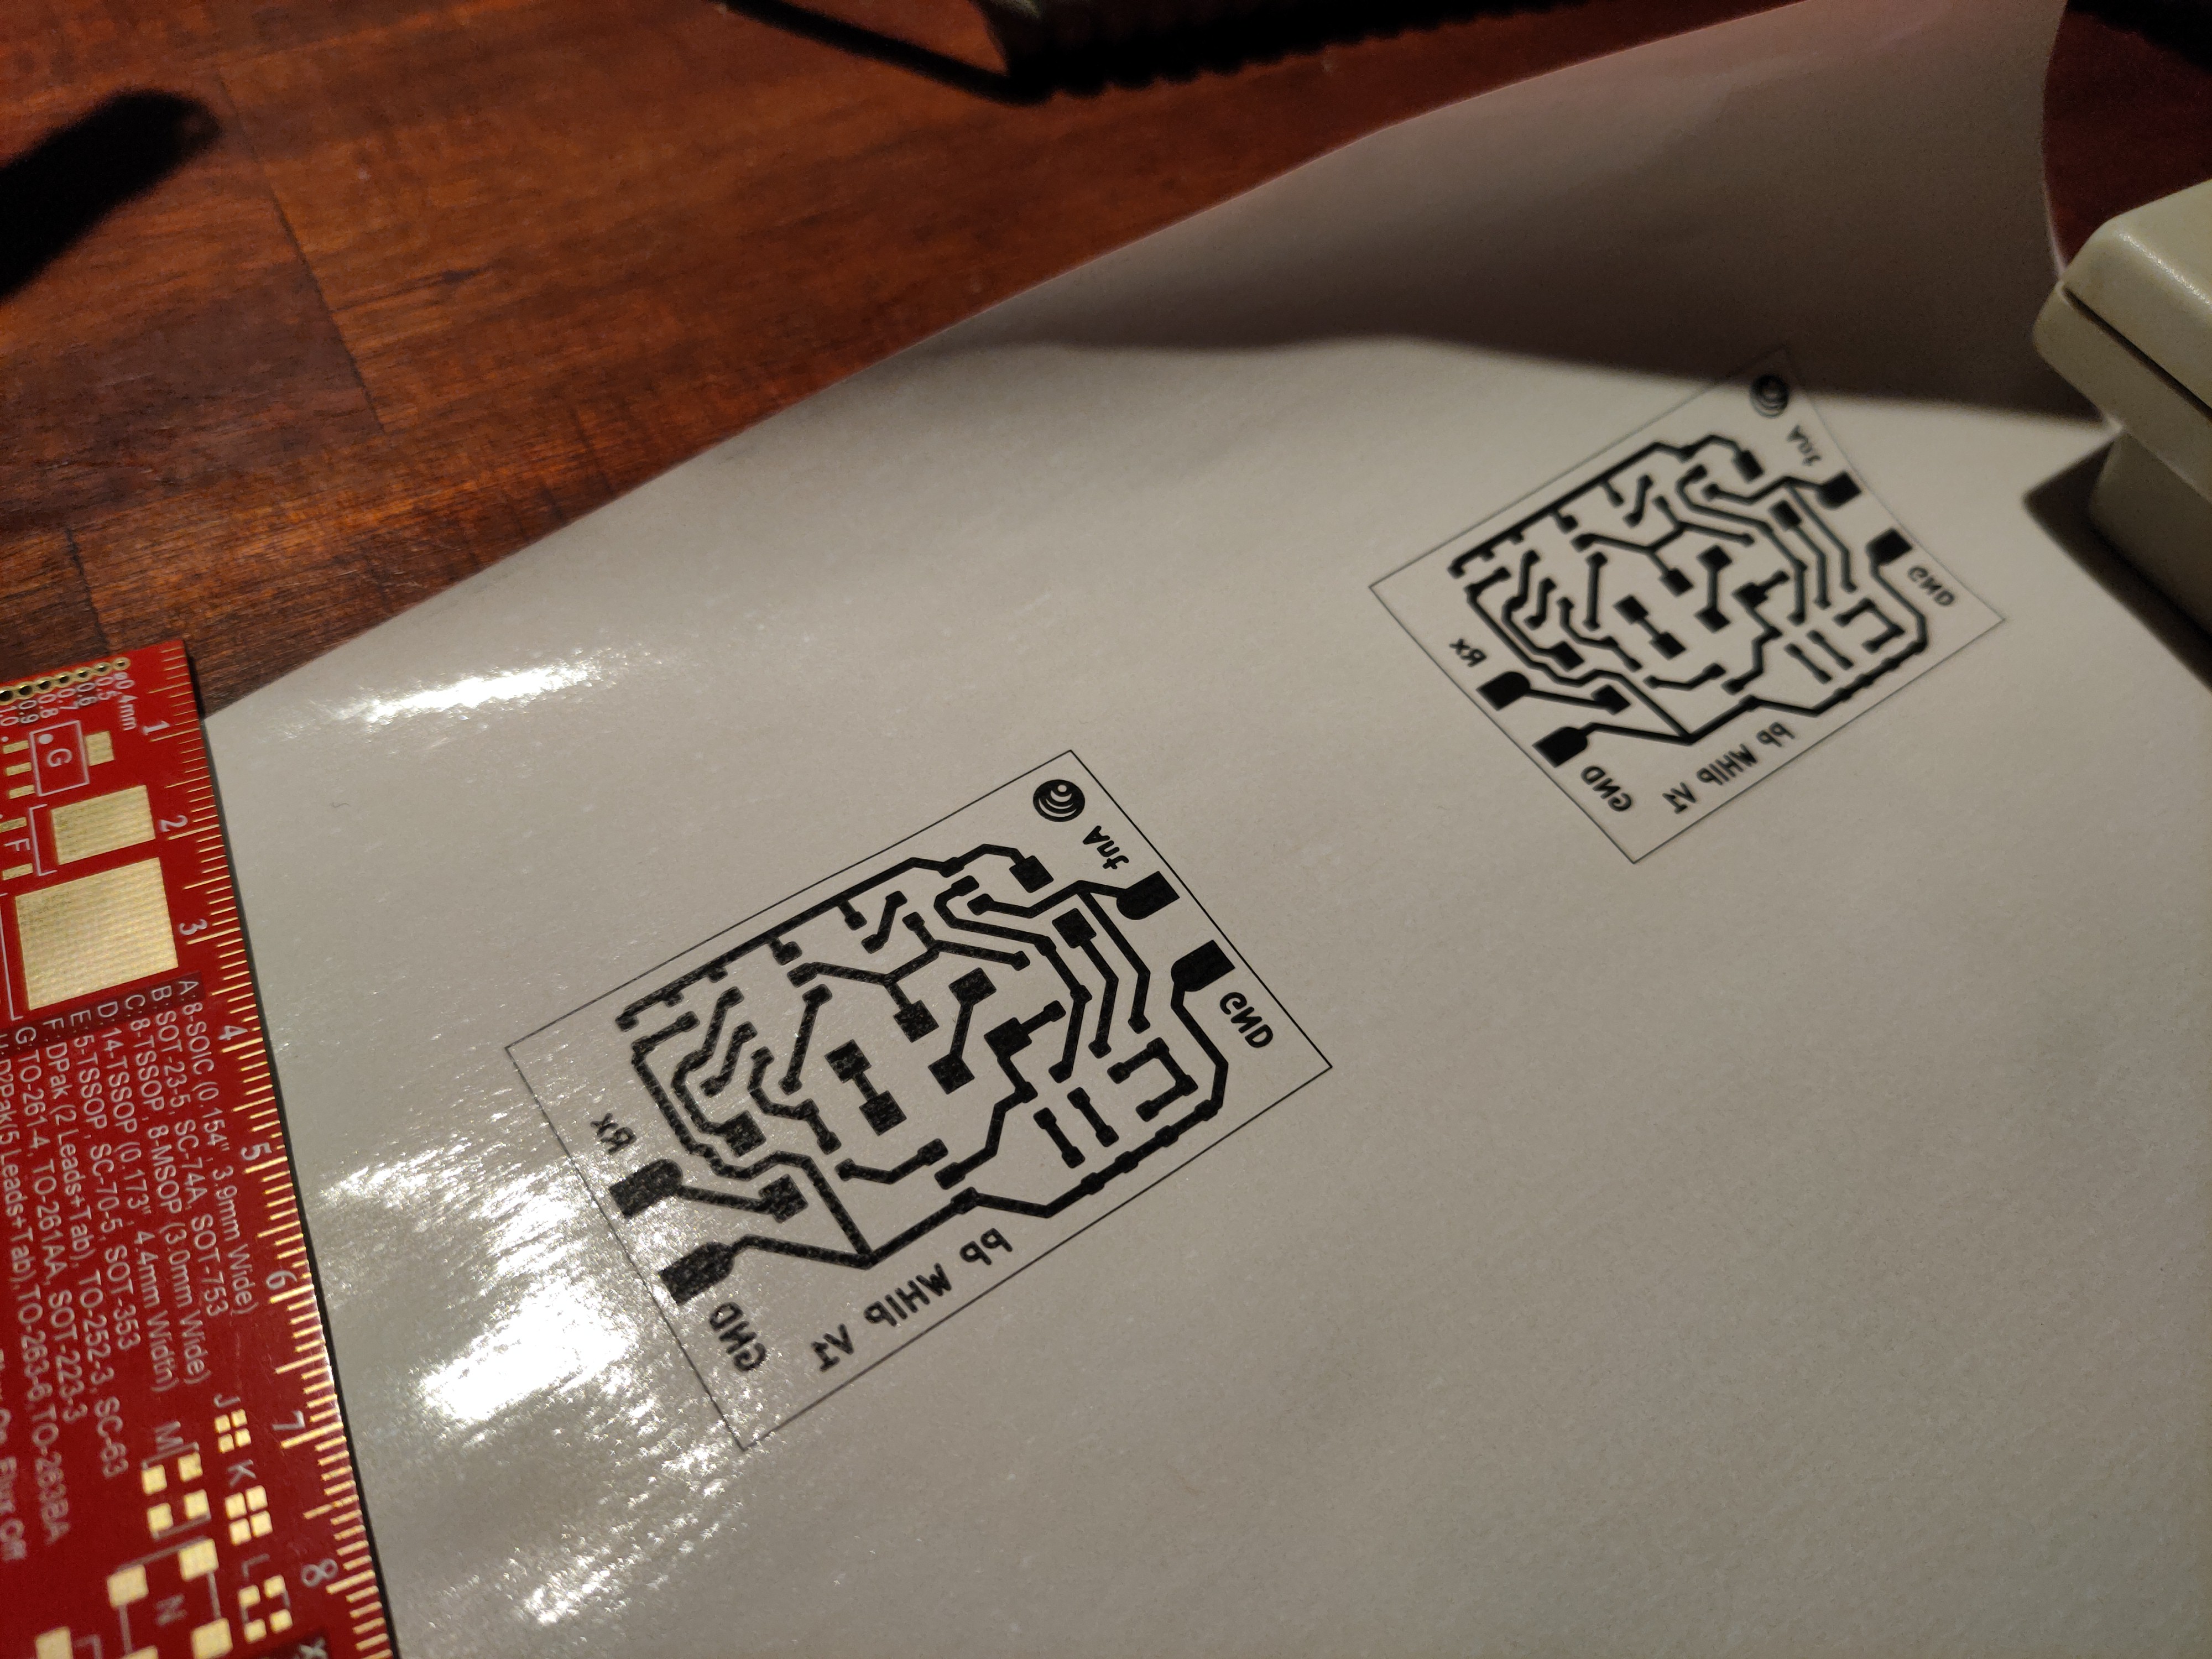
Circuit board patterns on a special paper
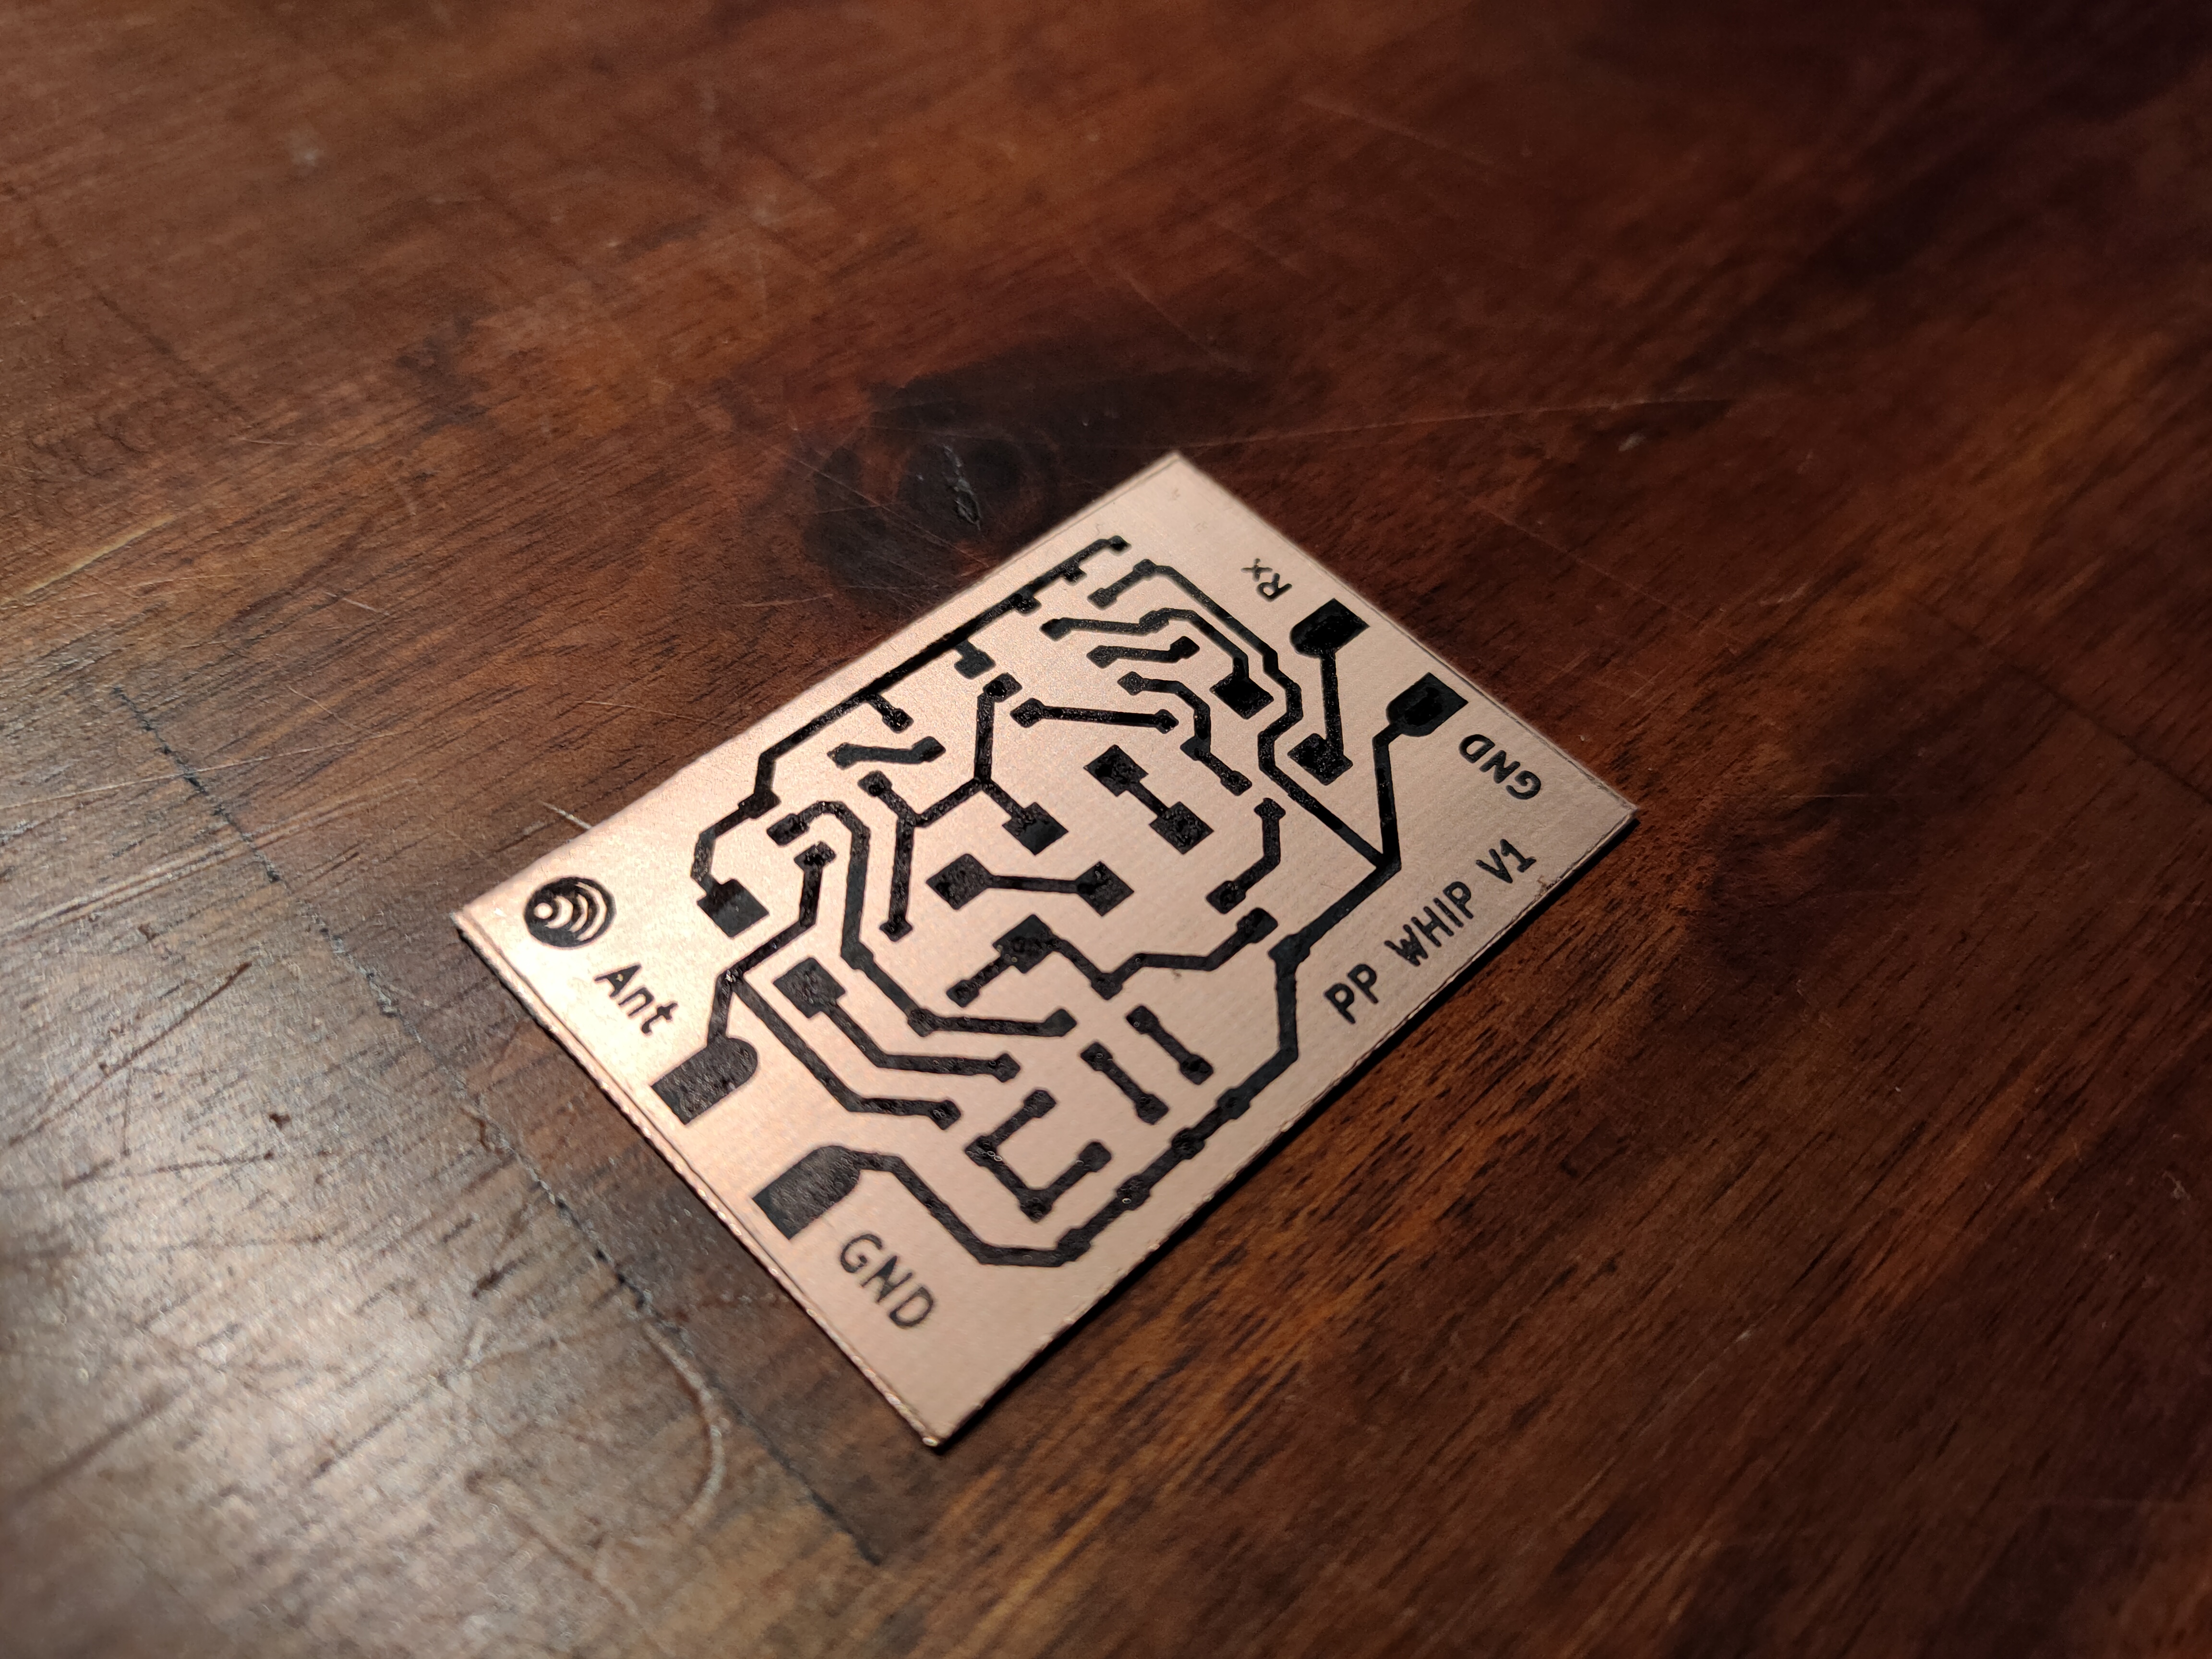
Transferred pattern
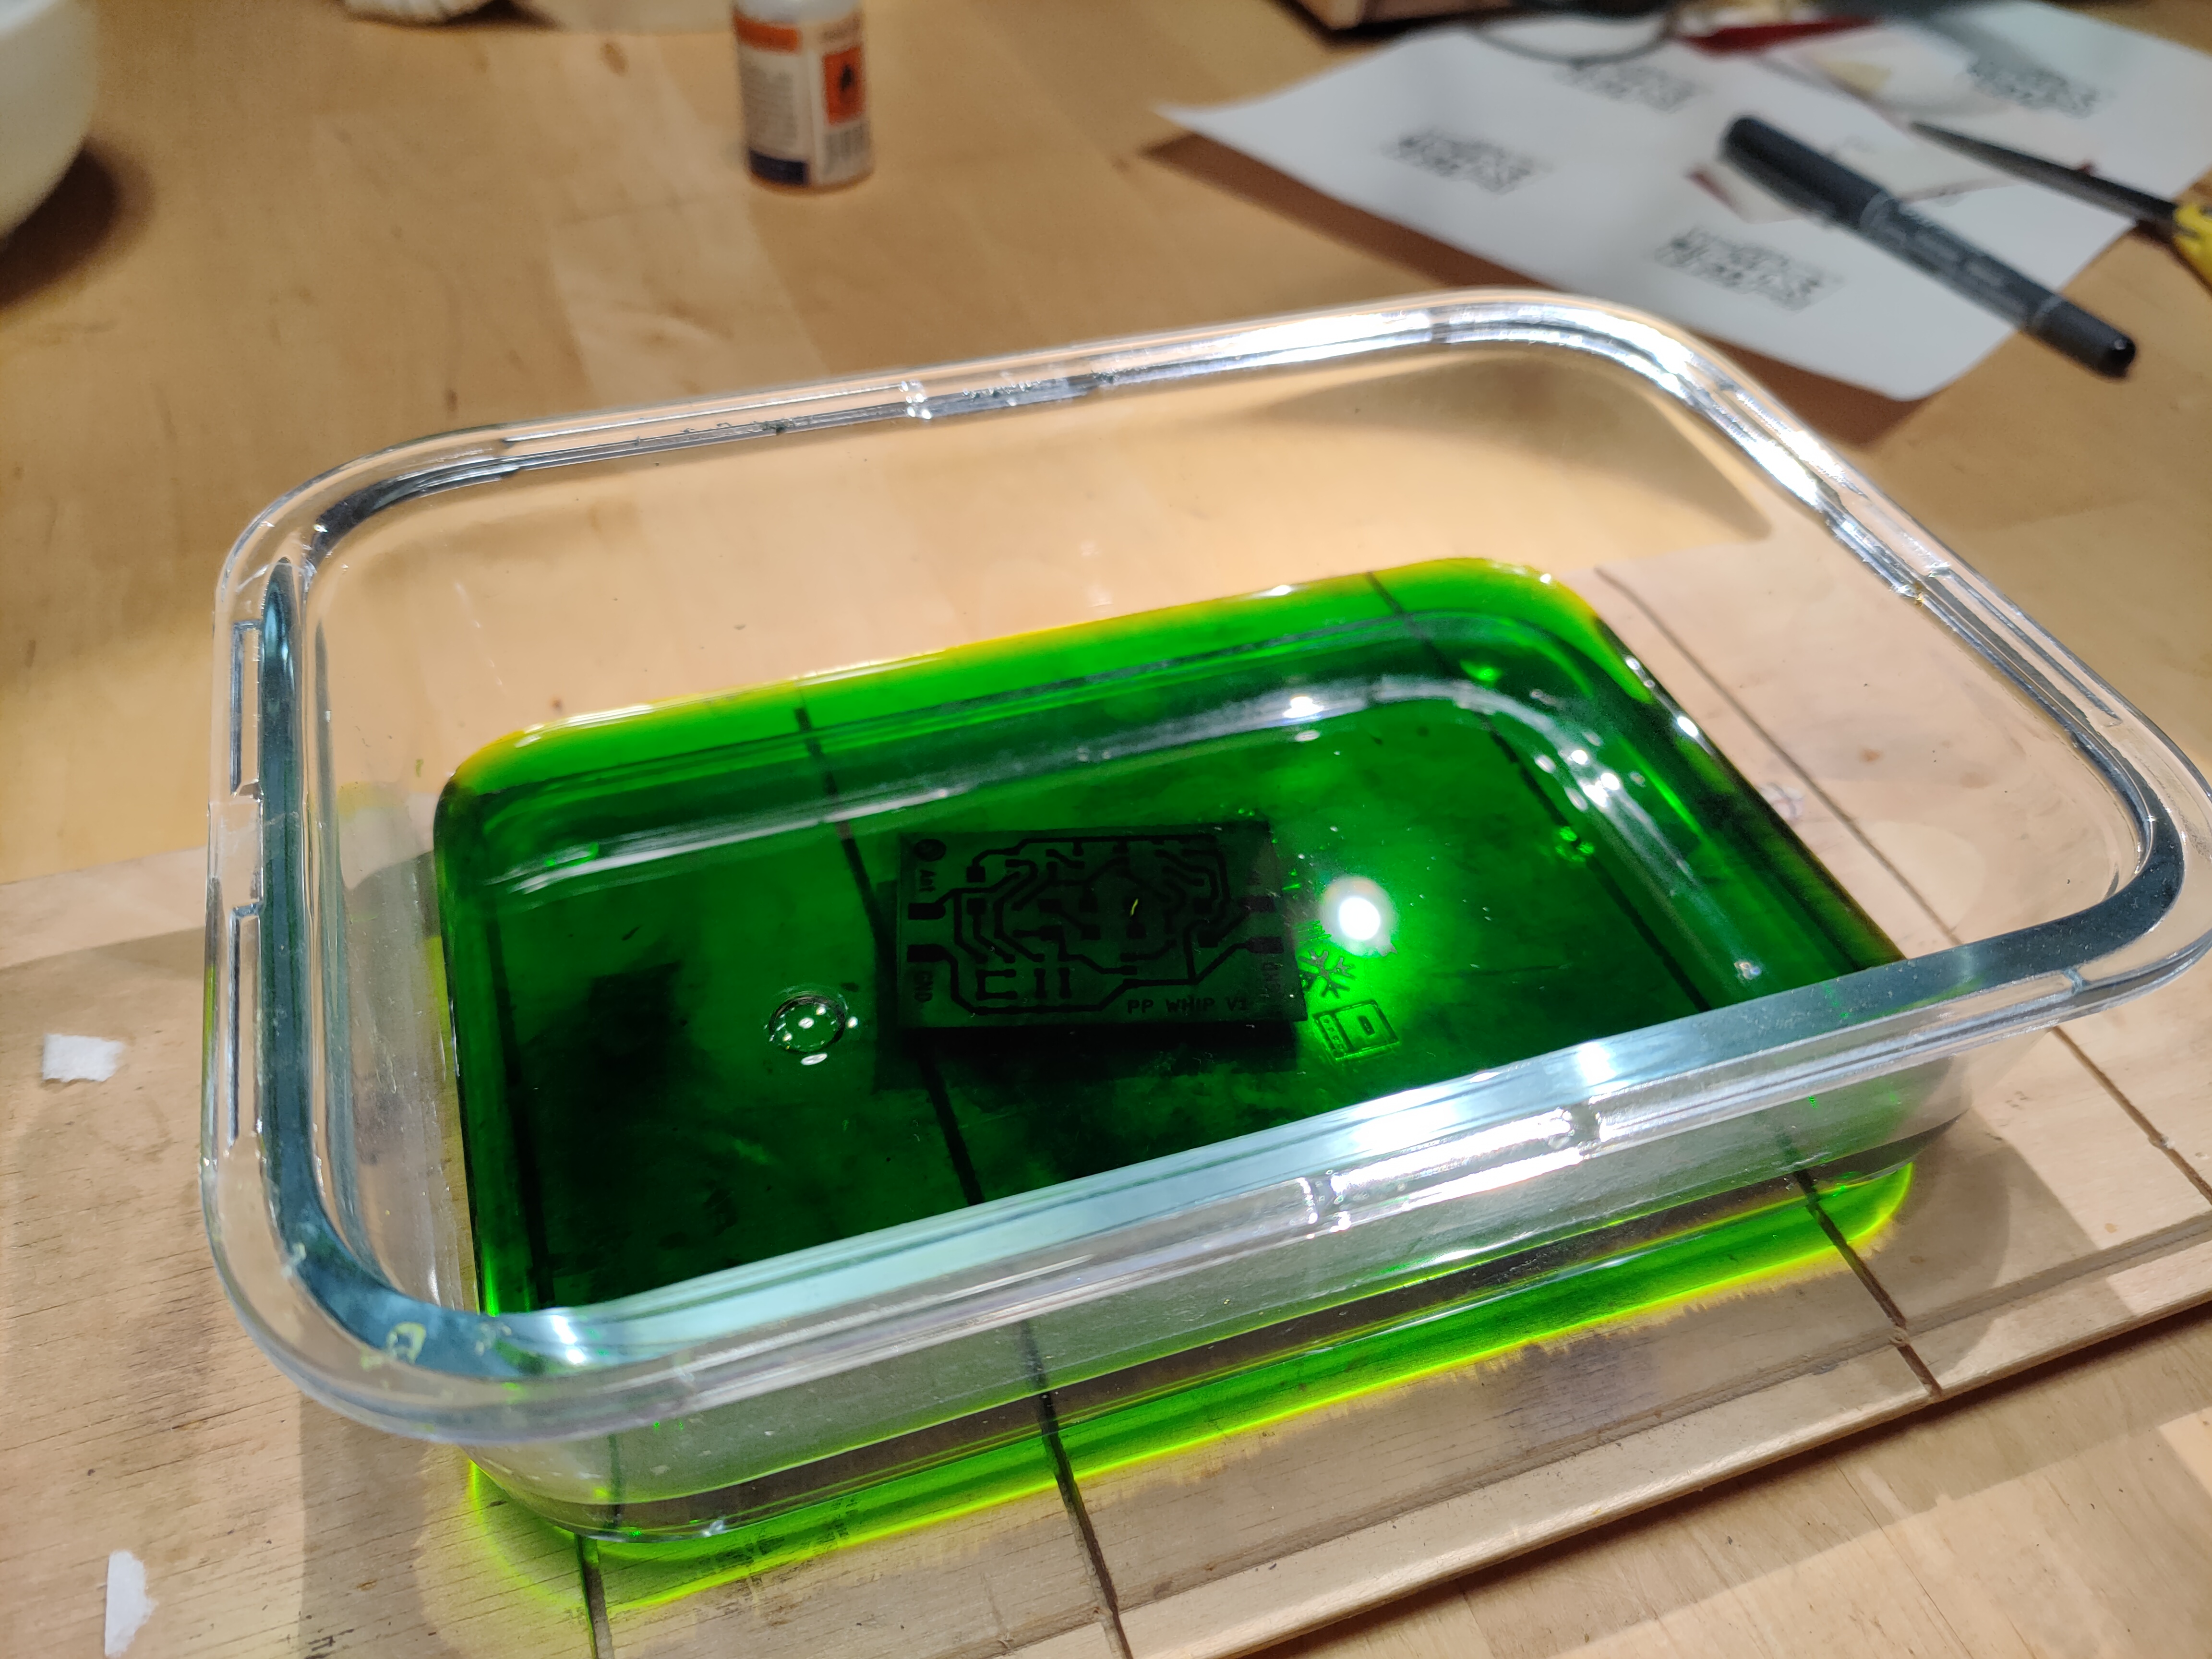
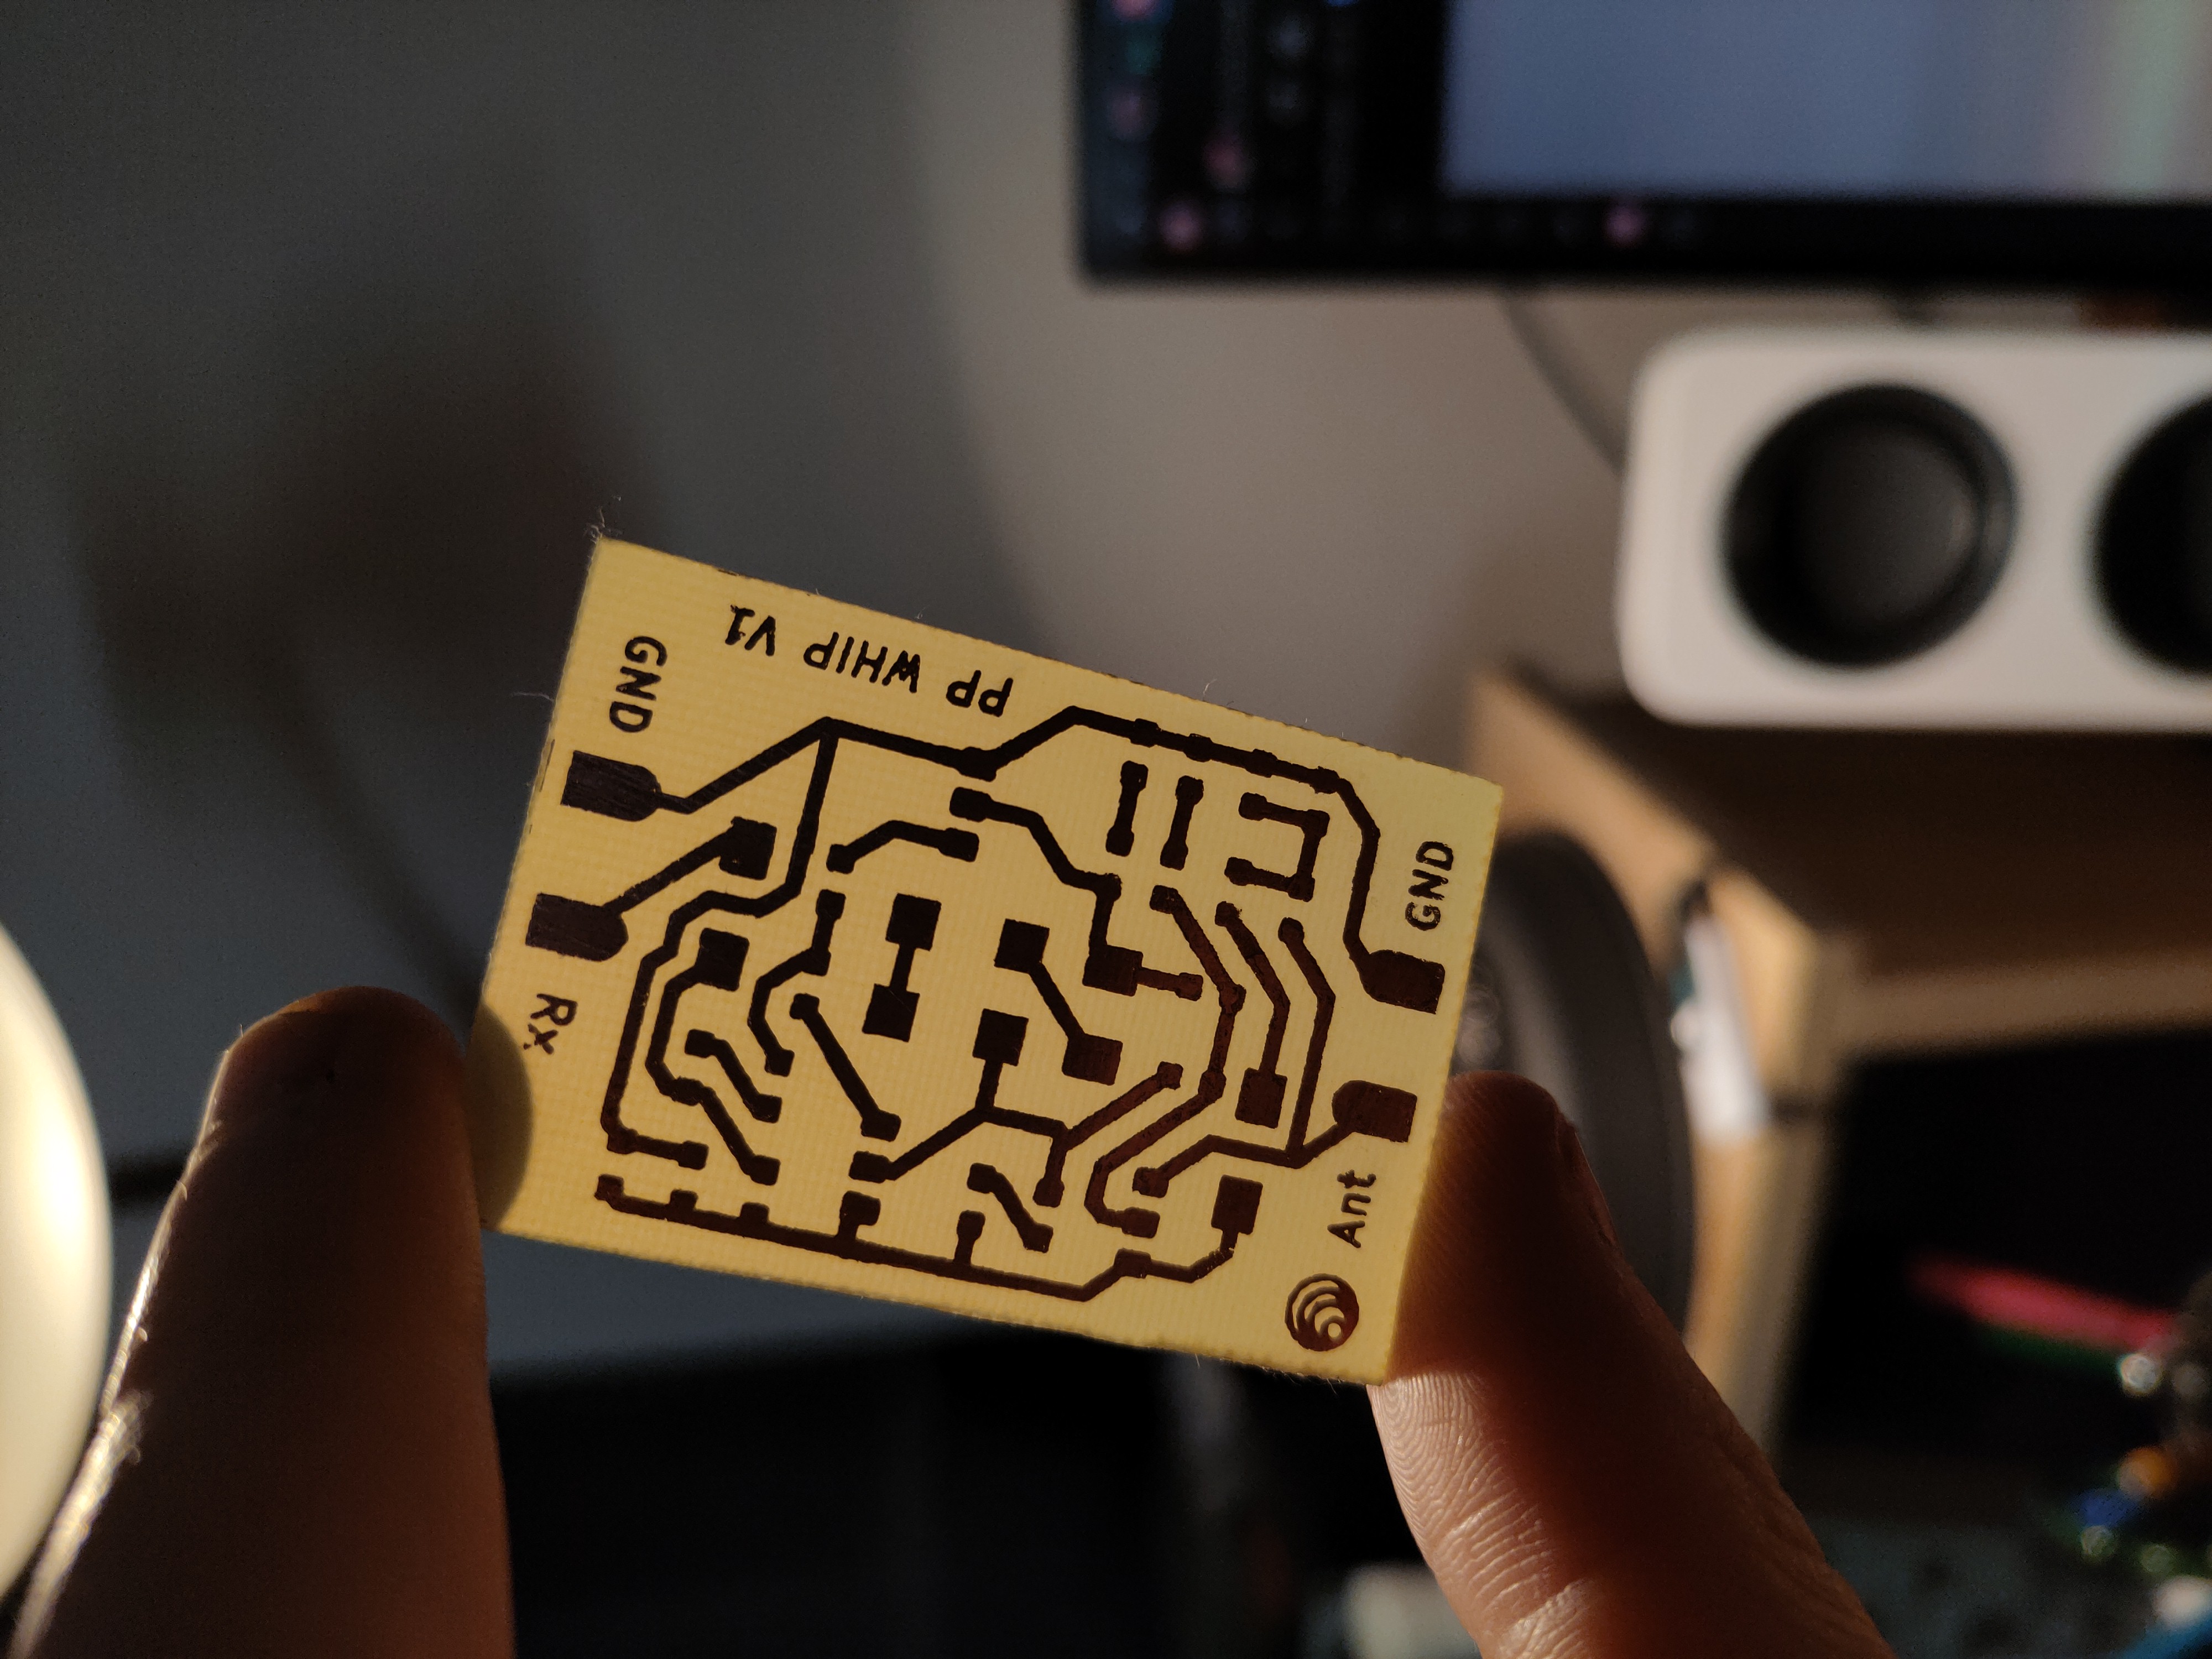
Etching the board
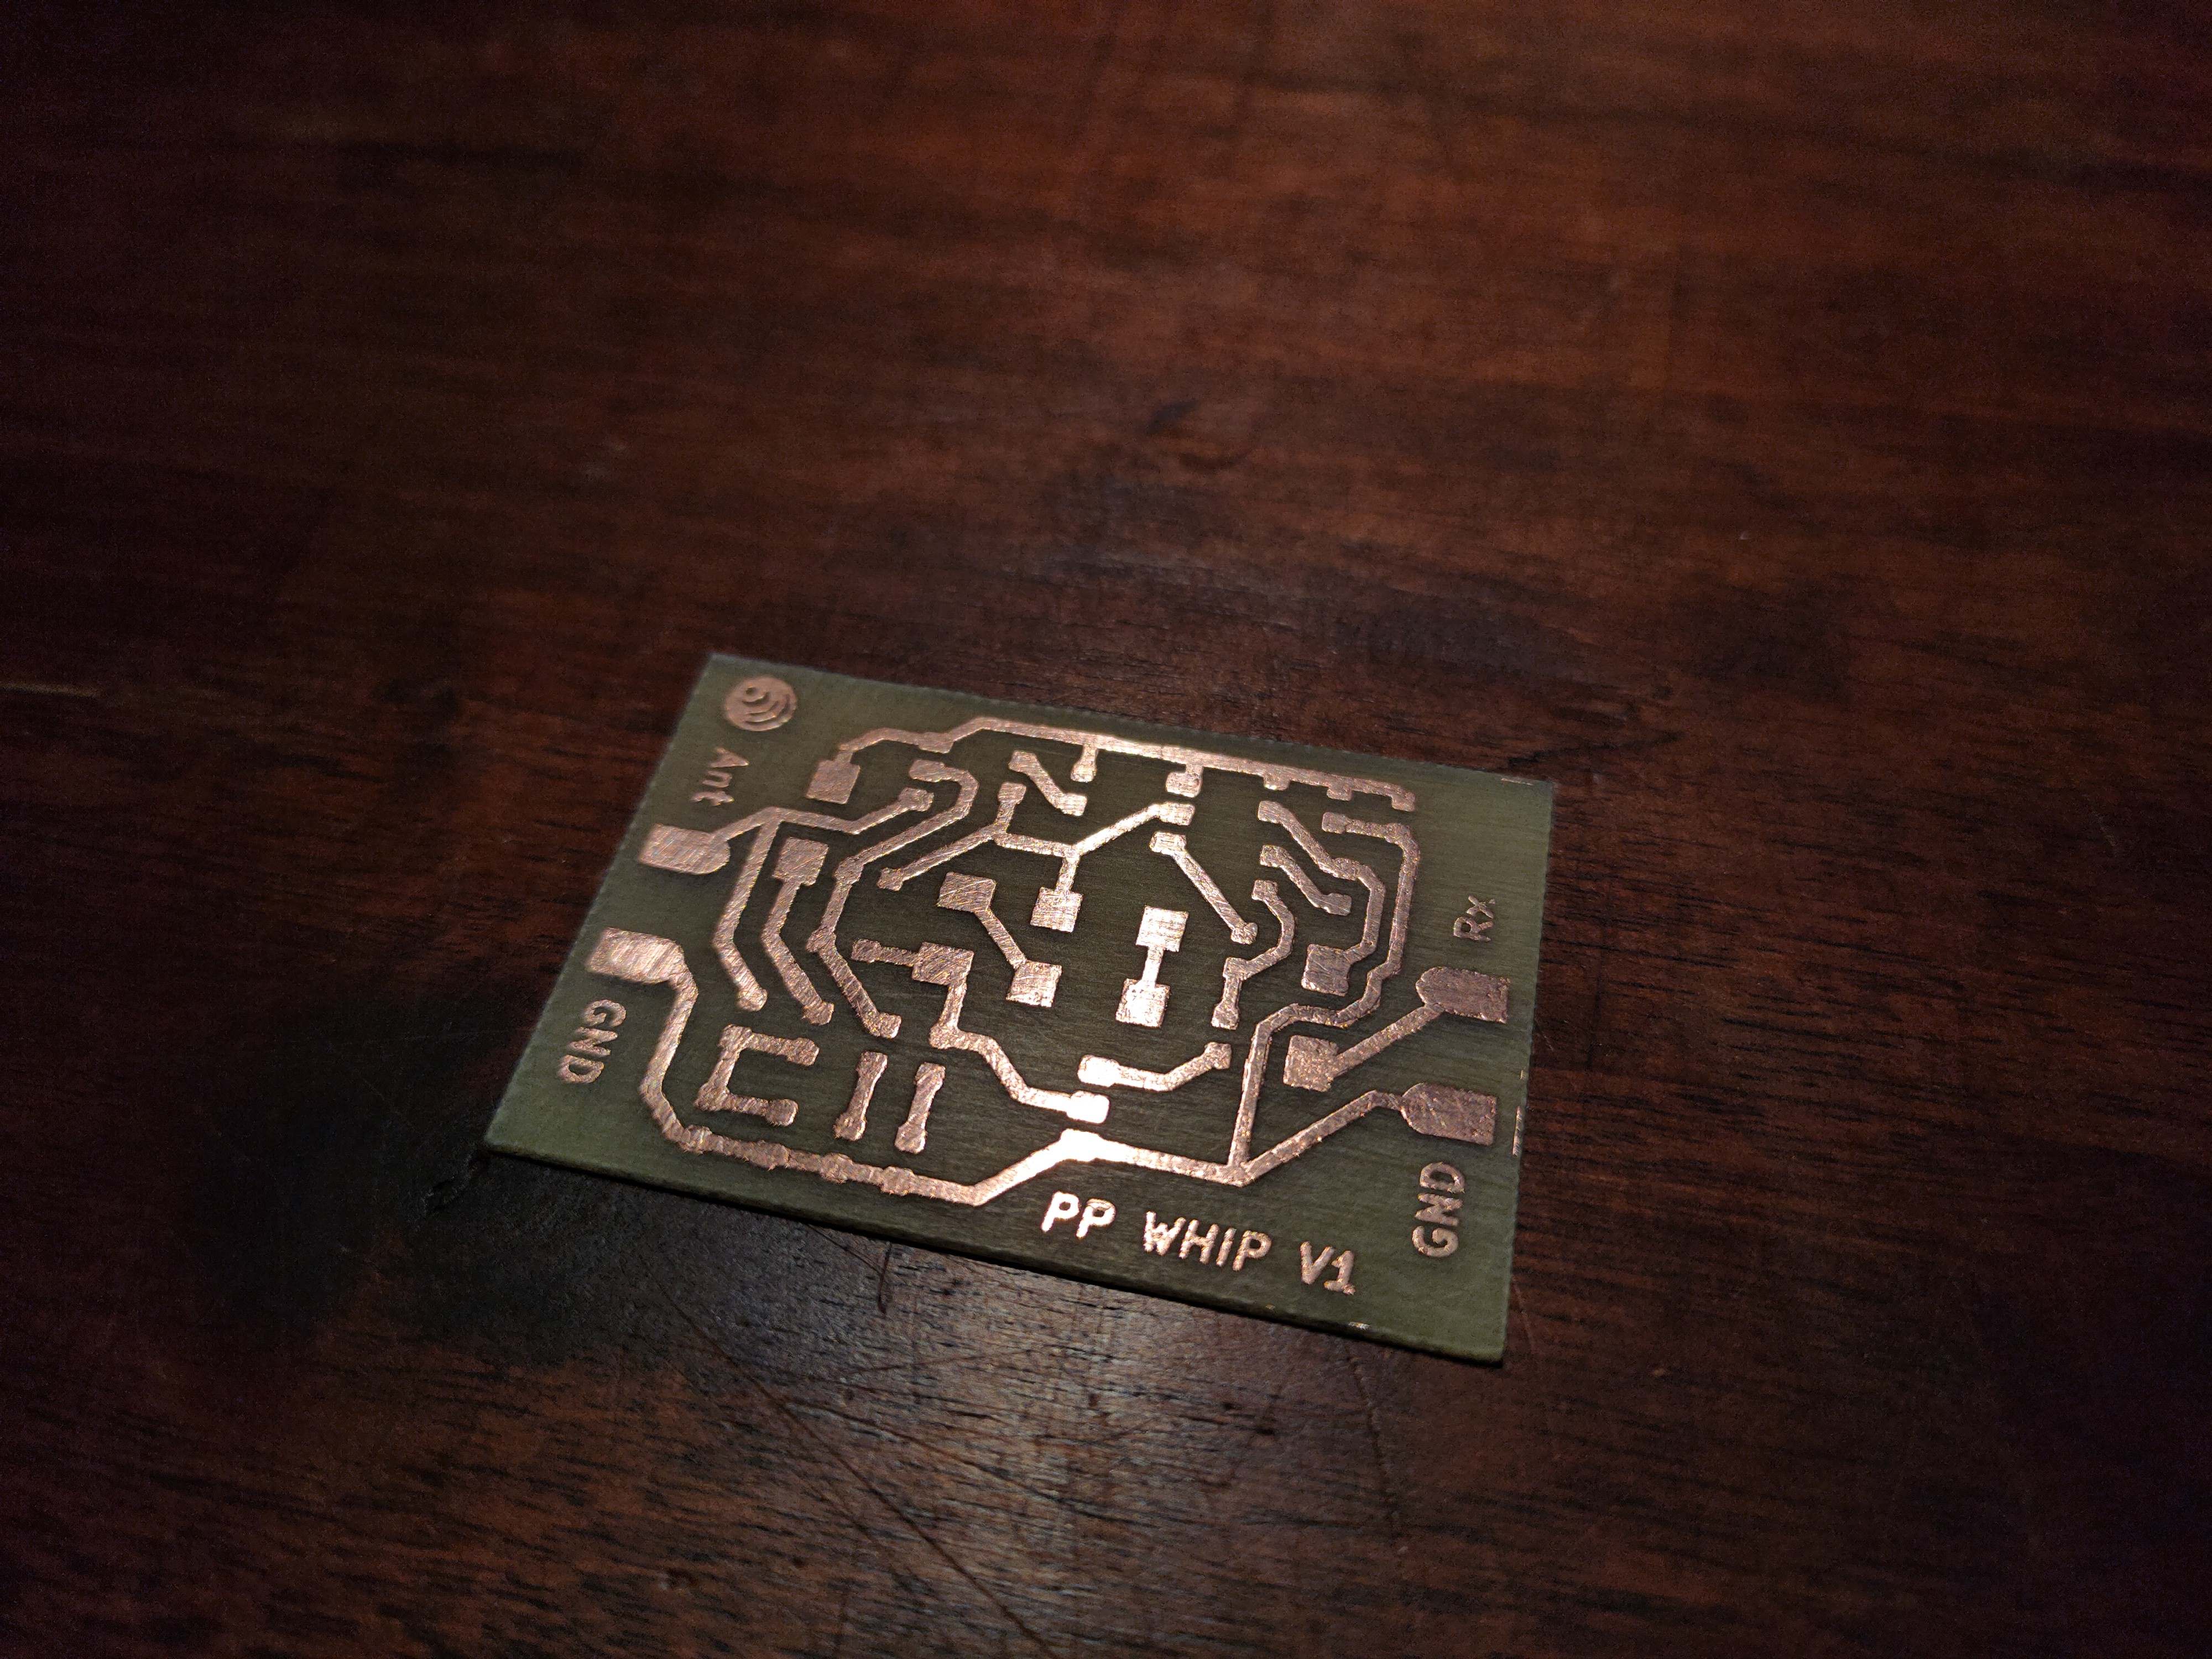
Final circuit board after cleaning the toner